JT's Nursery Renovation Tour

Our home was the first home in Dallas that my grandmother and grandfather owned. It was the home our church started in. So when my uncle, who owned the home, had a tenant leaving and offered the house to us to buy, it was almost too perfect to pass up. Before we bought this home, I was clawing tooth and nail for almost a year to move back home to Dallas. I knew I wanted to move back home to Oak Cliff and I knew I wanted to renovate. But, almost every house I loved was bought before we could take a look at it in person. Or, if it hadn't been bought yet, there would be something that didn't work out. It was exhausting and frustrating. Little did I know that what God had planned for us was better. He was teaching me patience in the waiting and to trust that His will for us is always better than what we could think or imagine for ourselves.
As I go room by room on the reno tour, I'll give more and more info on the reno process. It was A LOT and too much for one post! Although our complete renovation took 4 months total from September 2017 to December 2017, which is on the shorter end of a complete overhaul, it was EXHAUSTING. Between going back and forth to our townhome in Houston and living with my mom while we supervised renovation in Dallas... and also being due in February, I was a walking ball of stress and fatigue. My first tip in gearing up for a renovation is, prepare to be stretched a little thin emotionally, physically, monetarily, and spiritually! It's a learning process and will test you in all areas of your life. But as usual, growth (in all forms) doesn't usually come easy.
Okay, now to the good stuff! Once we closed on the house, I had an architect come in and measure each space so that we could have "plans" for the house. Since I knew exactly what I wanted to do with our home, it made our back and forth email process very smooth. When we were done I had the original plans for the home and our new layout (I'll add these when I post our living room/kitchen reno). We knocked down walls and changed layouts in the entry, living room, kitchen, office/dining room, and the master bath/closet. Having an architect draw the plans (including electrical plans) was one of the smartest things we could have done. It was a visual for our contractors to go by and having everything measured by a professional before hand was ESSENTIAL.
For JT's space (since that's what I'm covering today) nothing was changed in the room's fundamental layout. (Walls weren't knocked down.) Here's a list of the changes we made to the room excluding decorations which I link at the end!
Added farmhouse style window framing
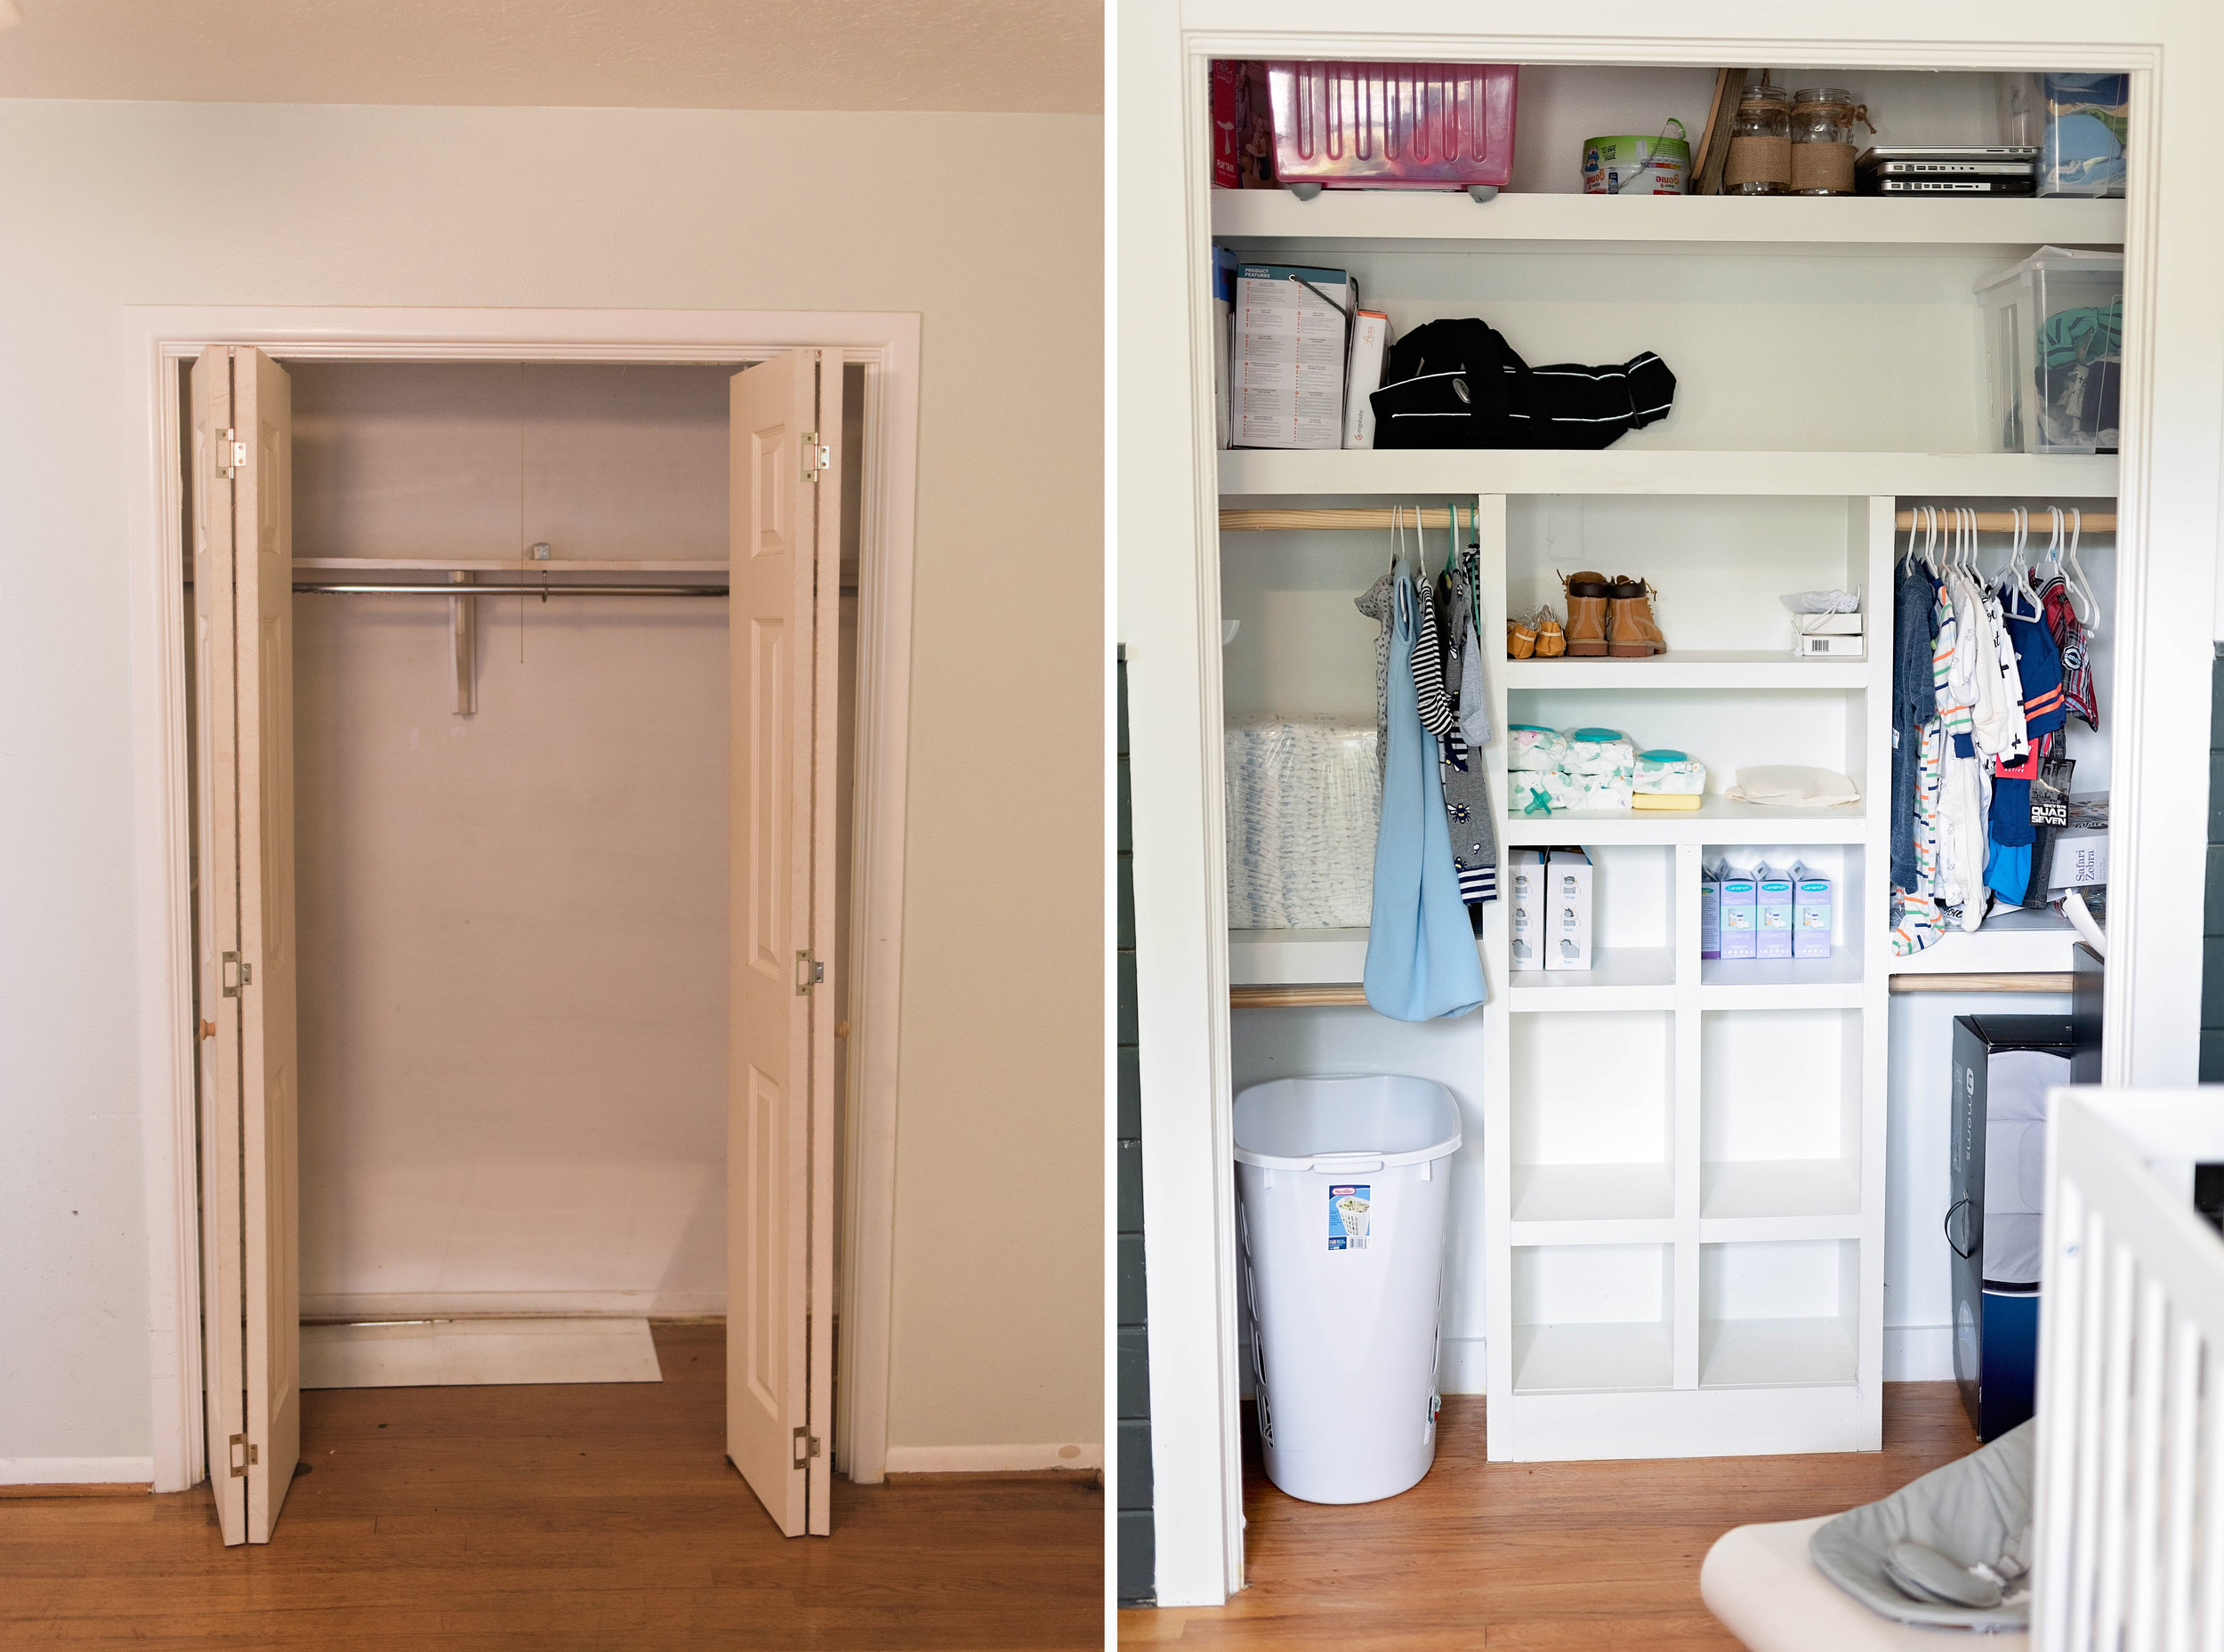
Removed the bi-fold closet doors to add a custom and kid friendly closet system. The plans for the closet are linked below!
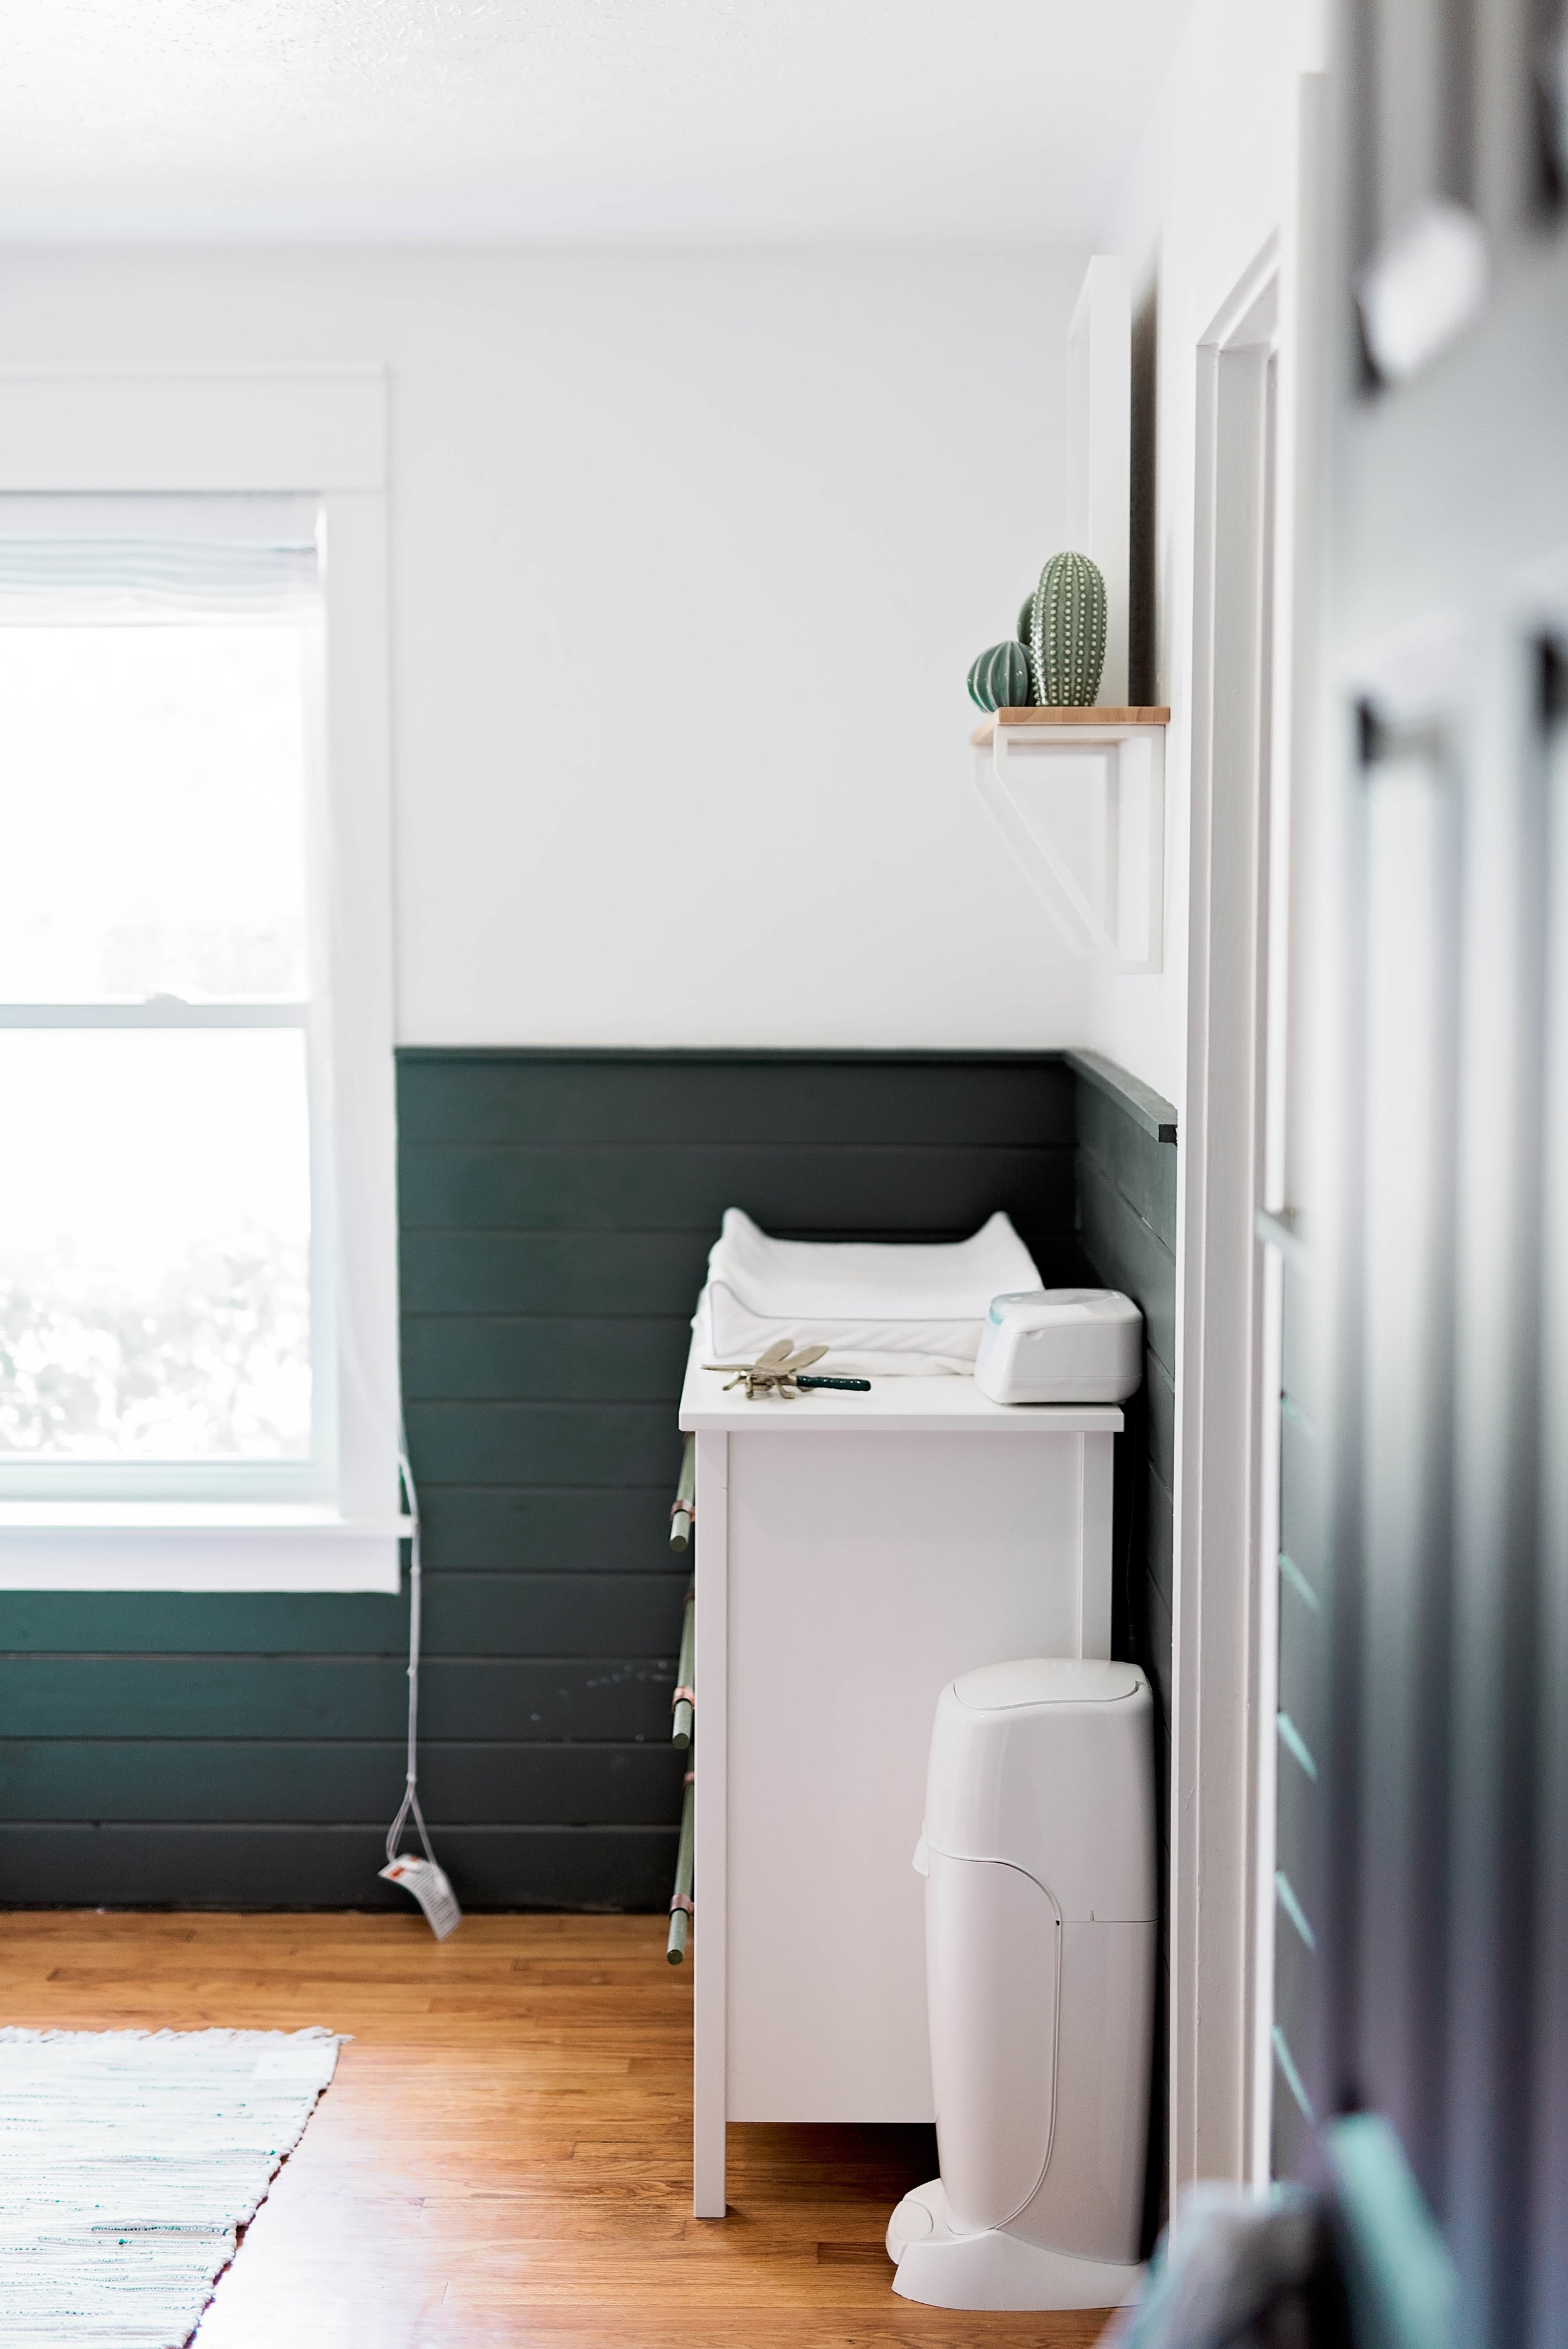
Added tongue and groove board, a cheaper alternative to ship lap
Changed light fixture
Sanded & stained wood floors
Updated electrical outlets
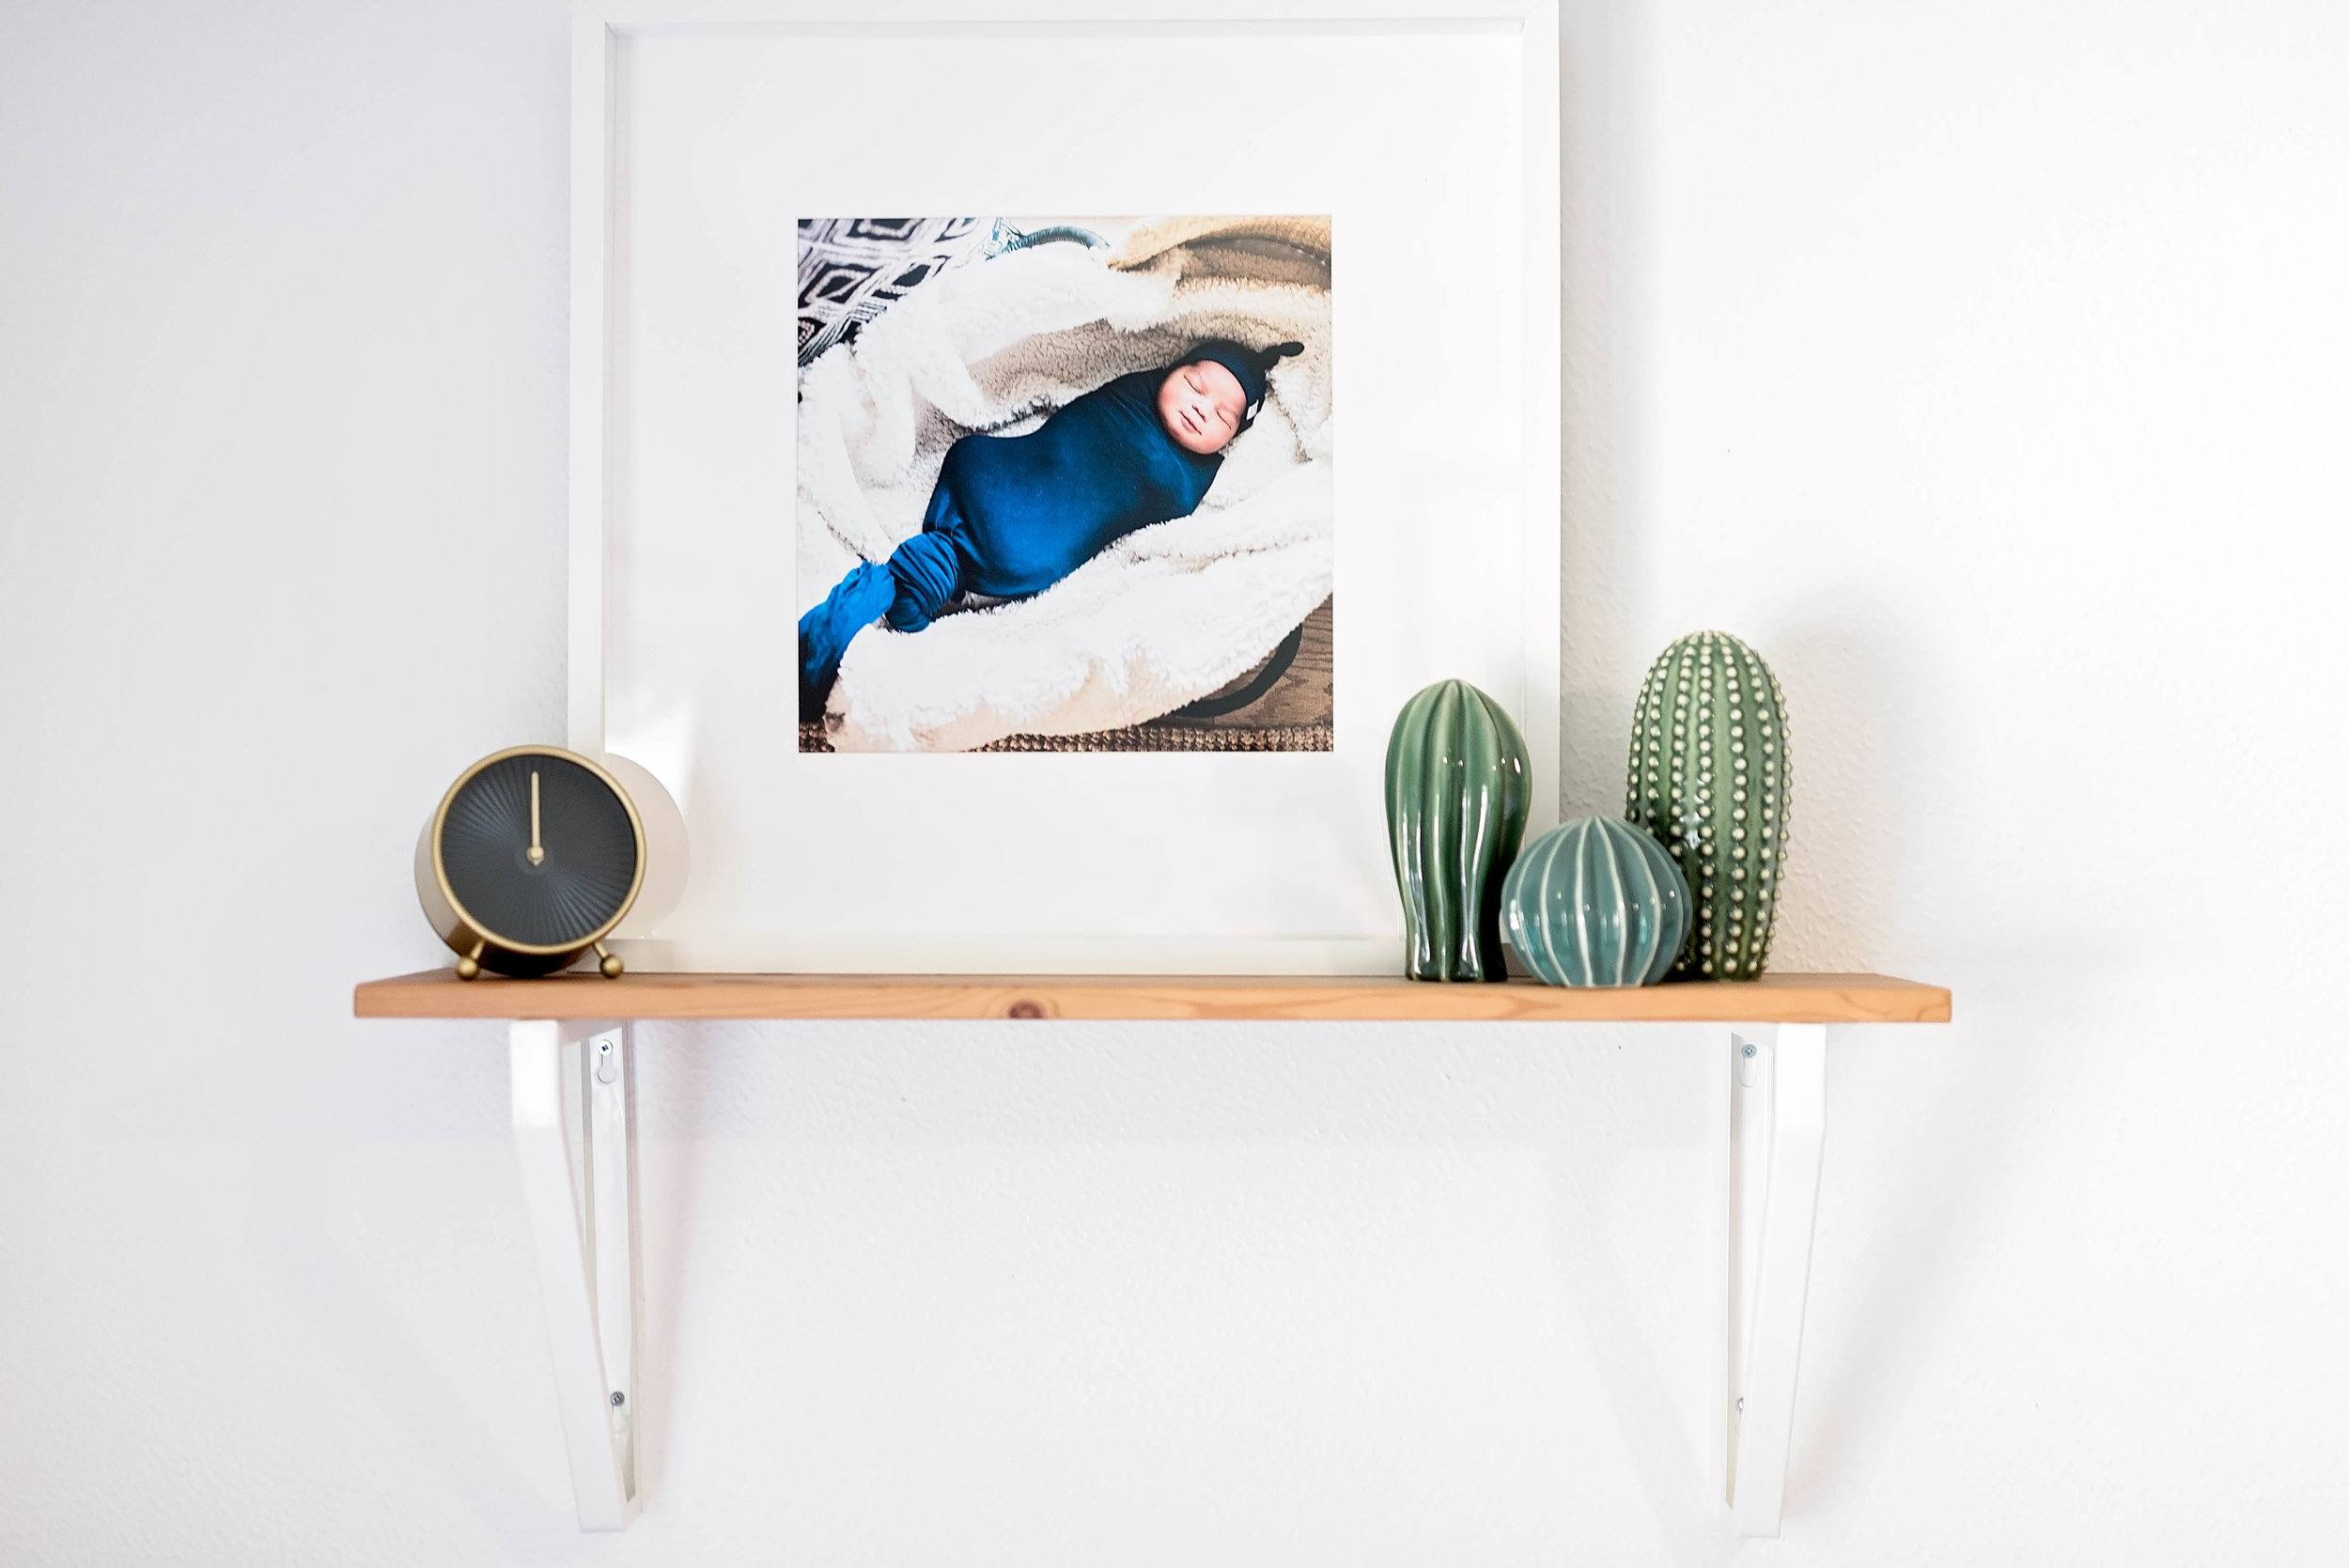
Here are before and after's of JT's nursery, scroll all the way to the end for all of the decor links!
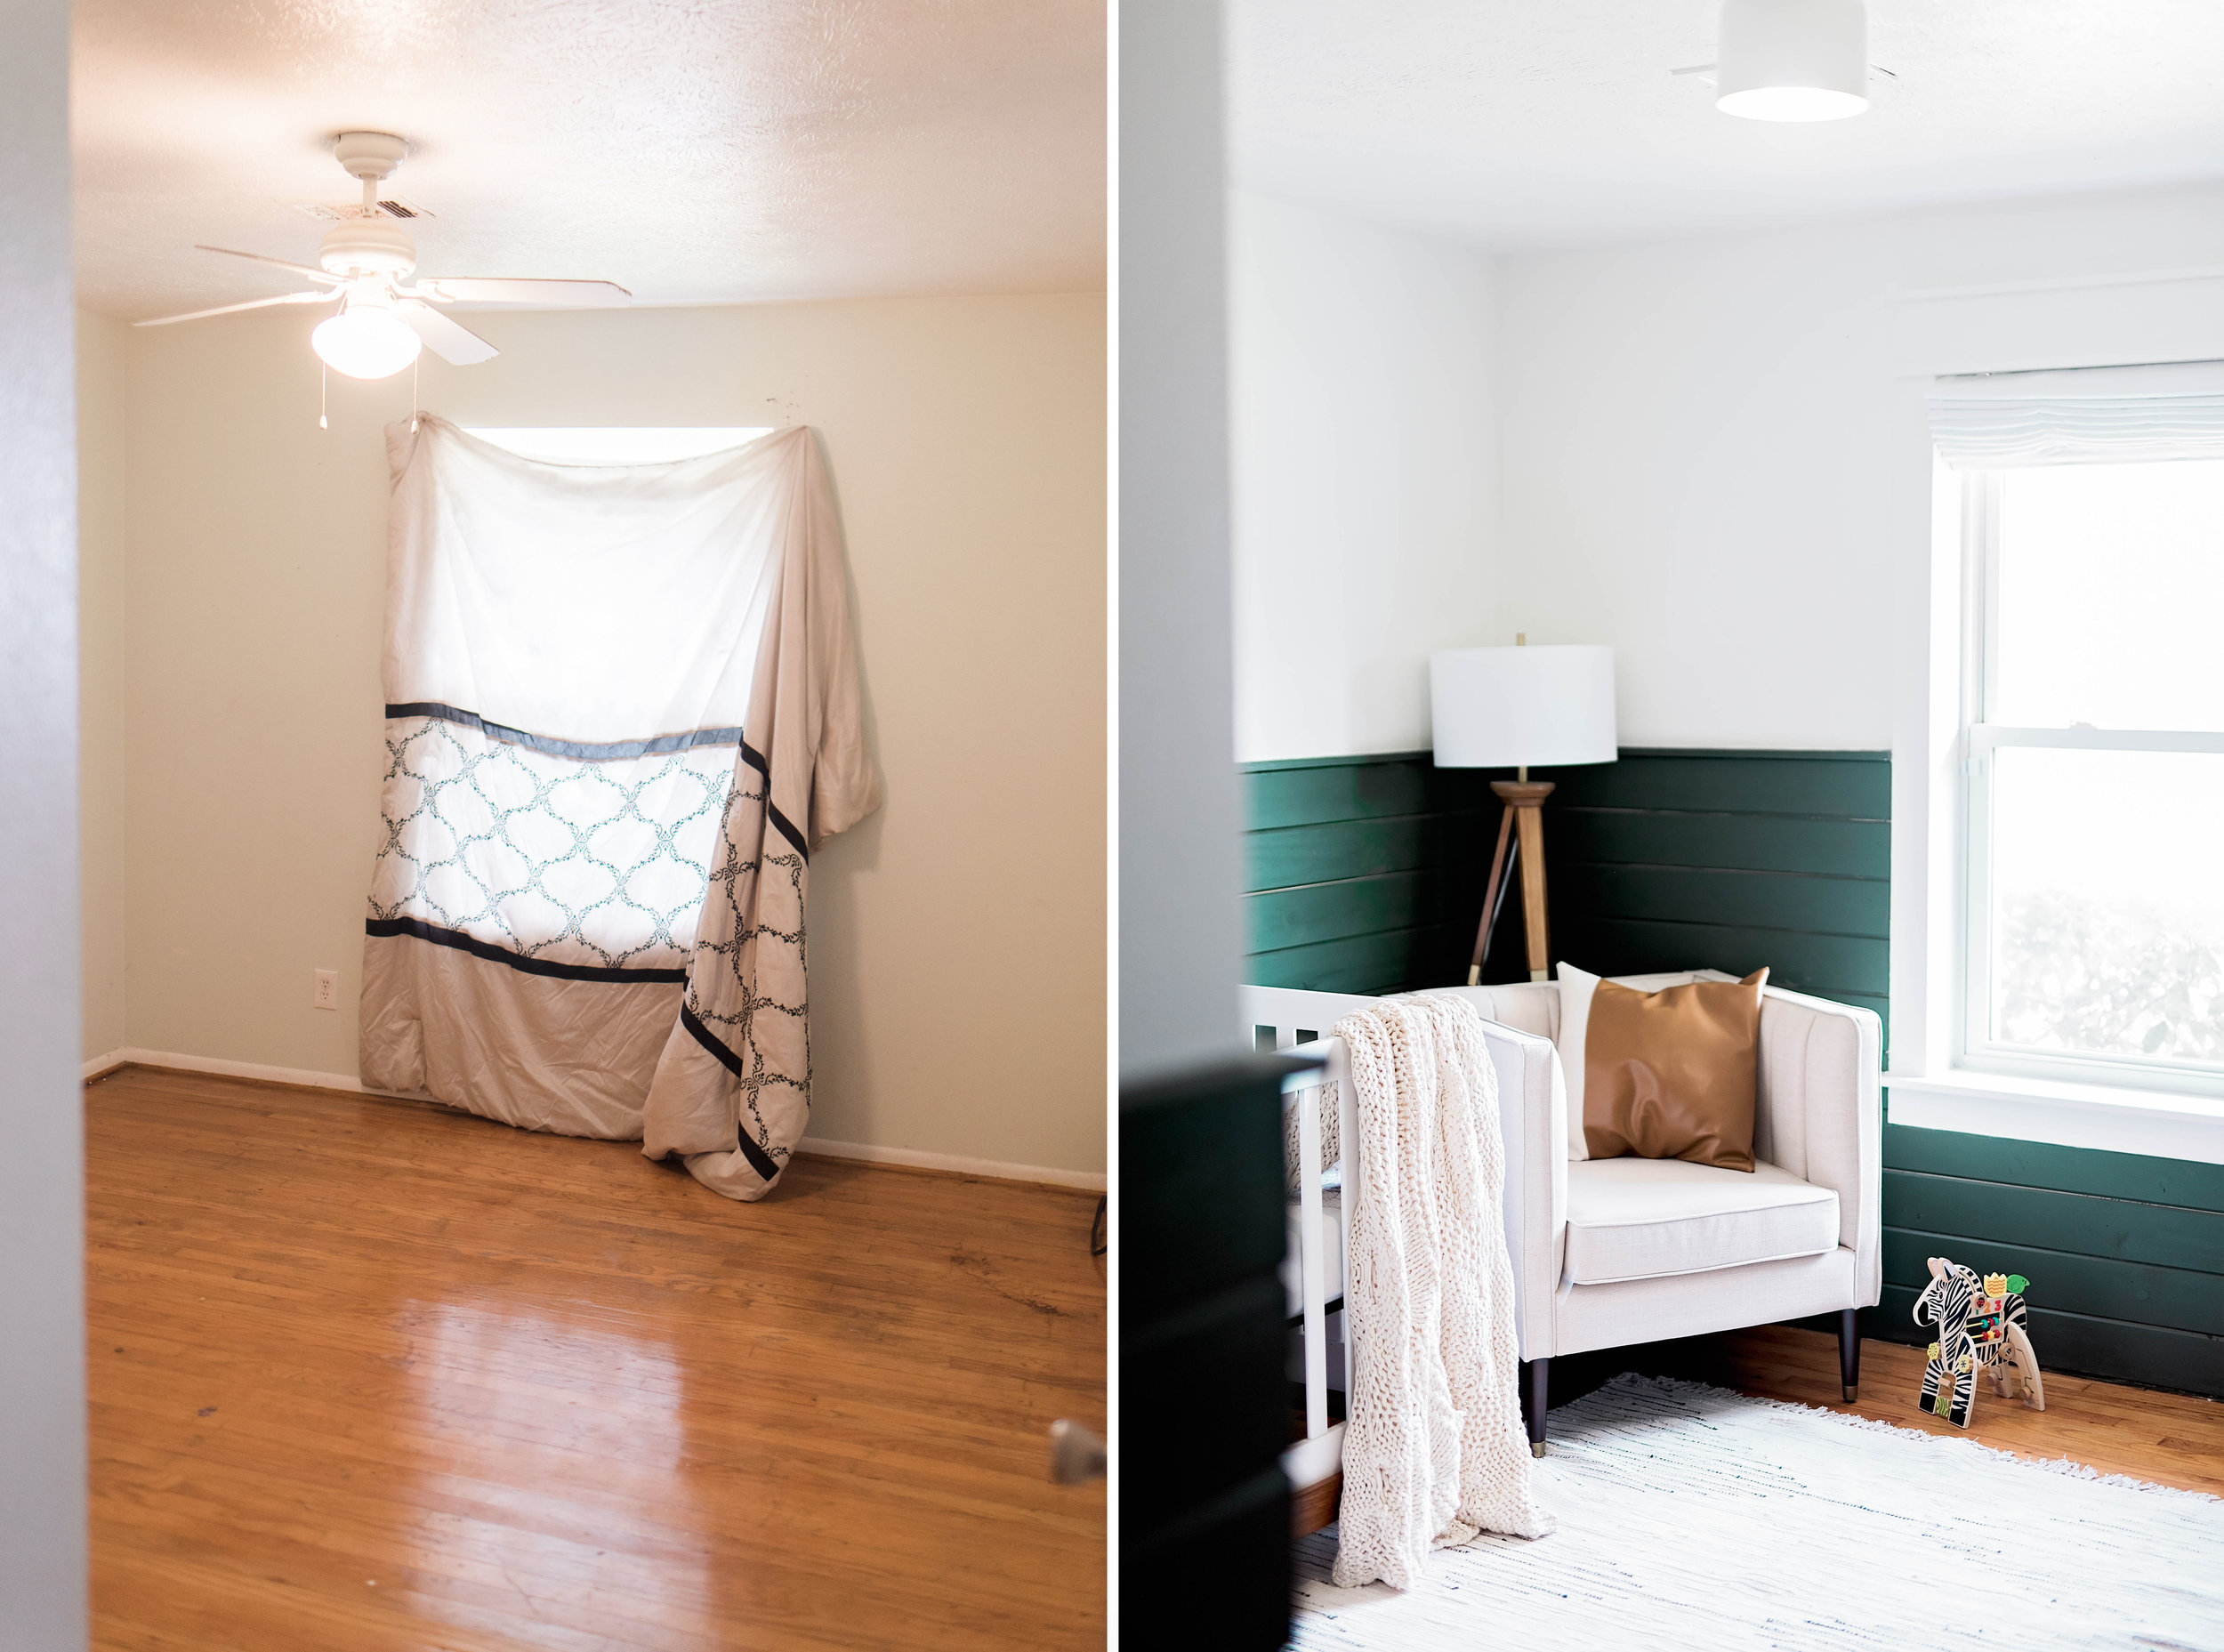

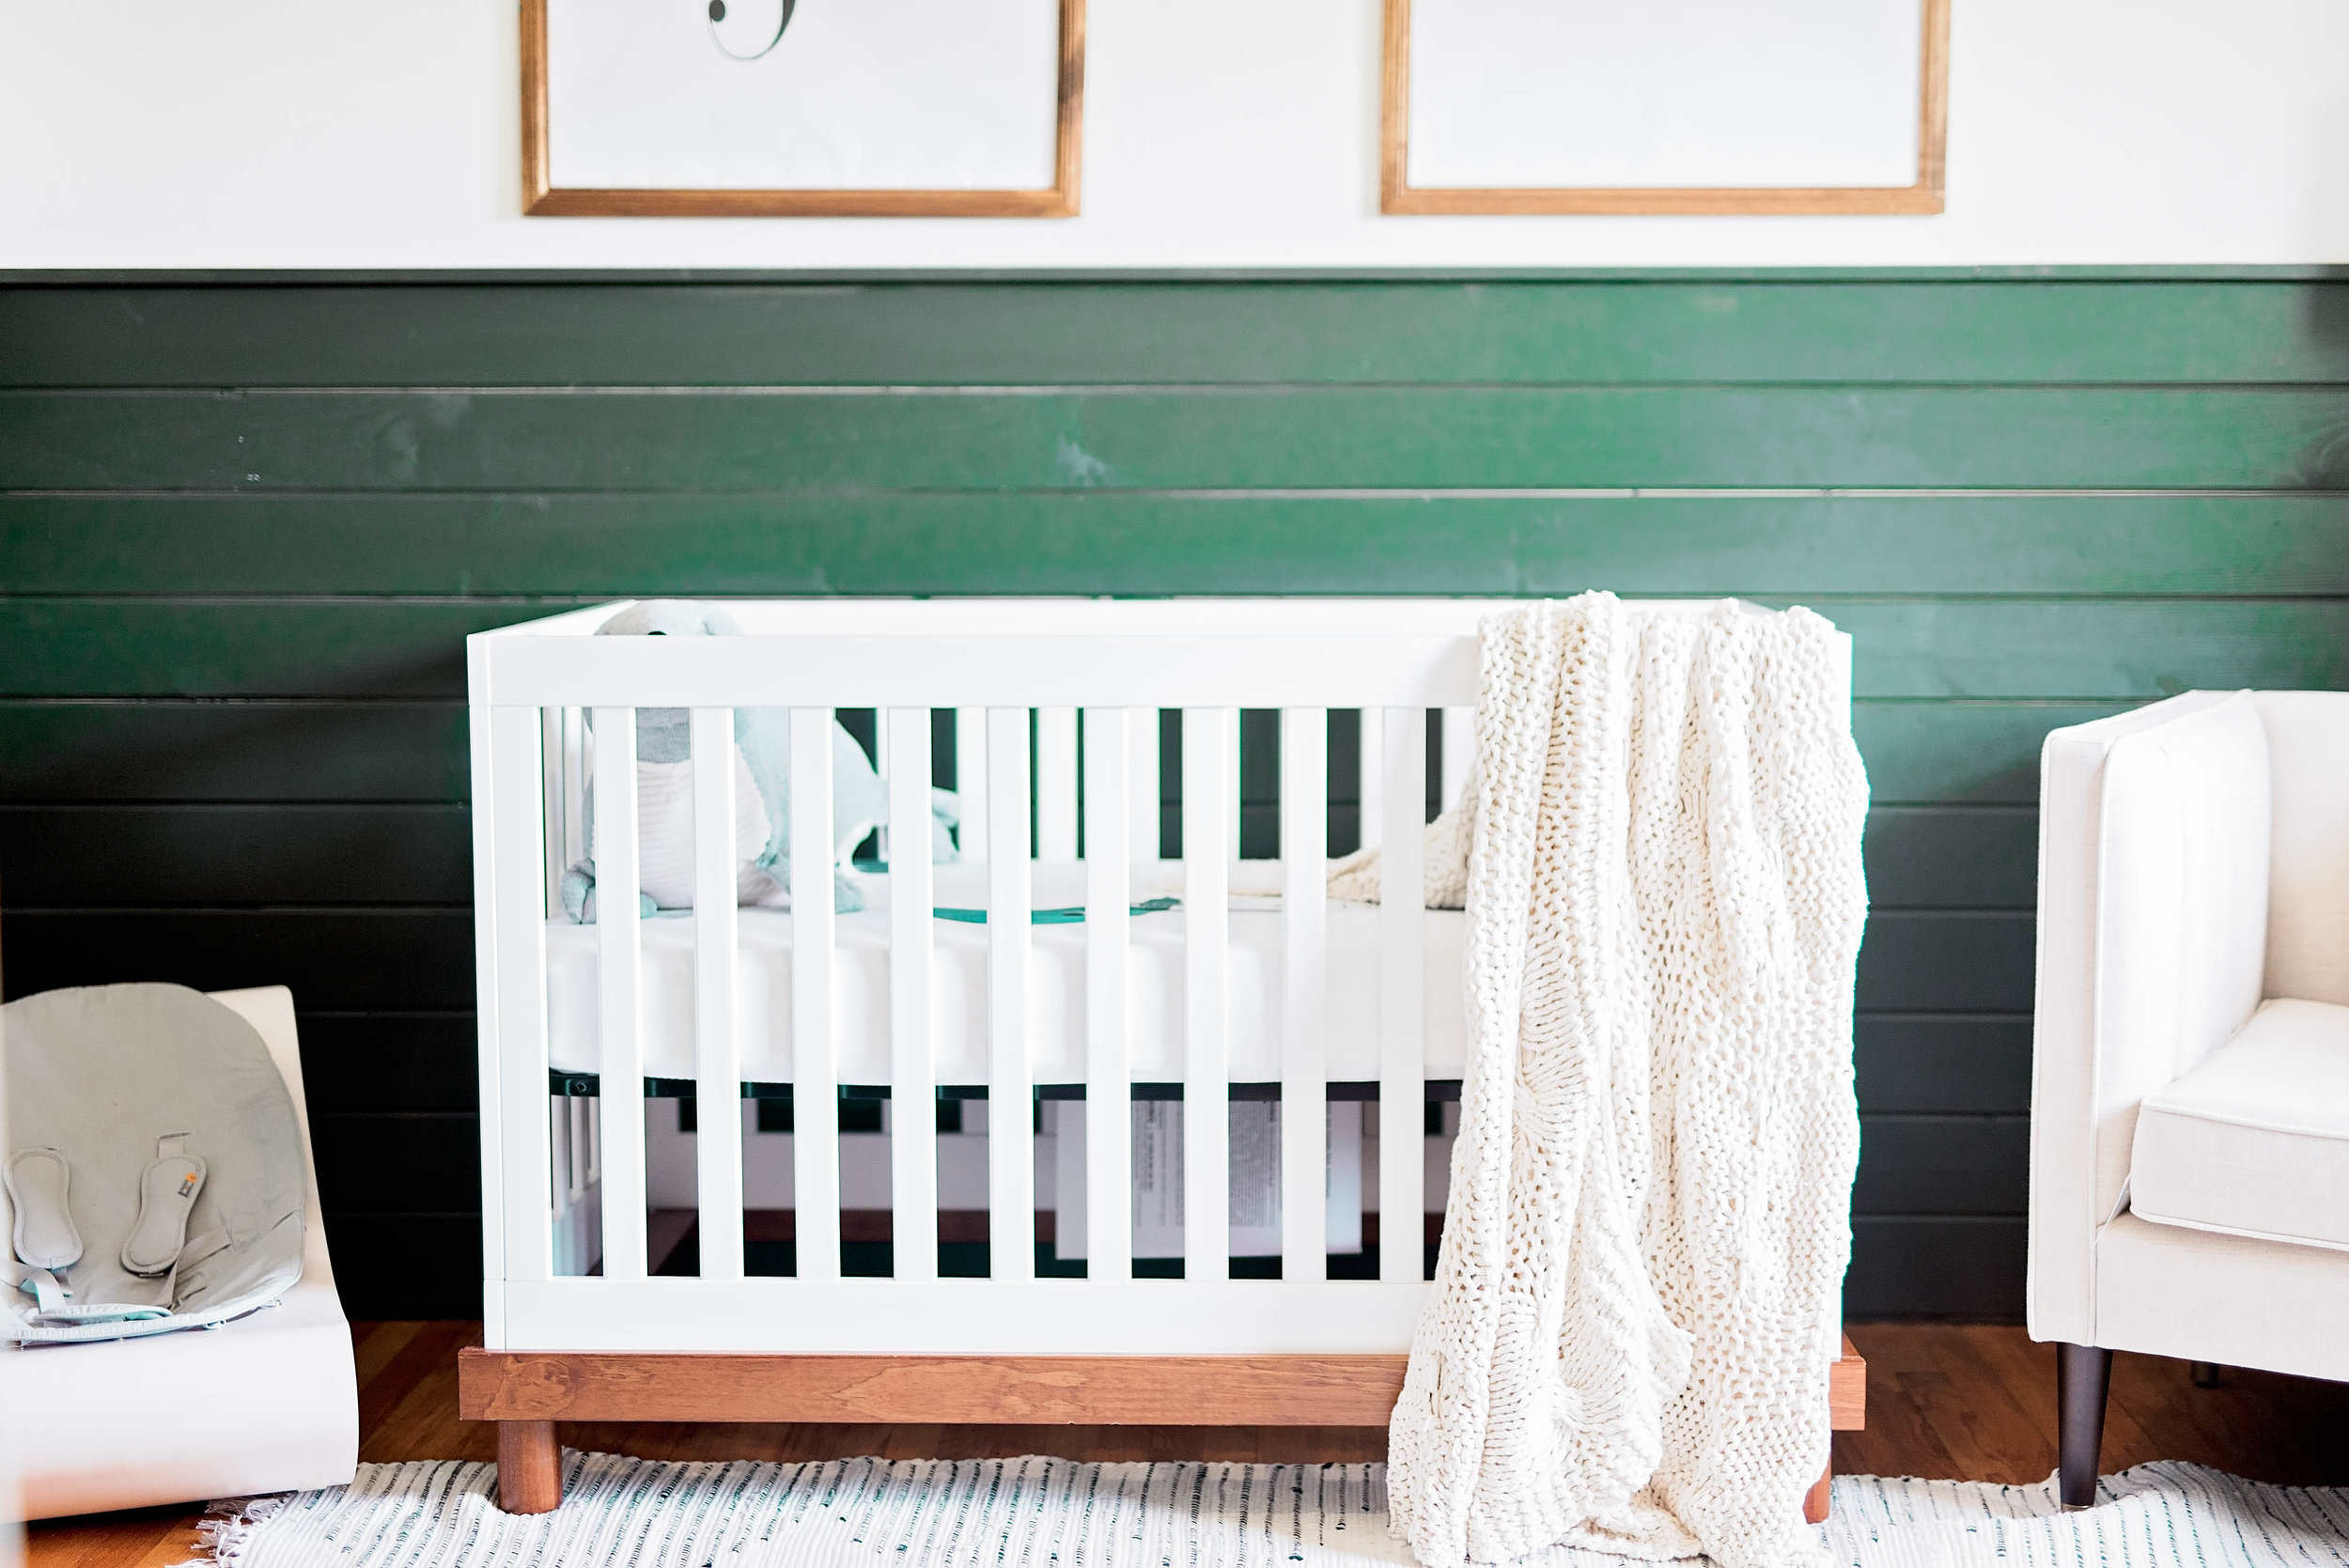
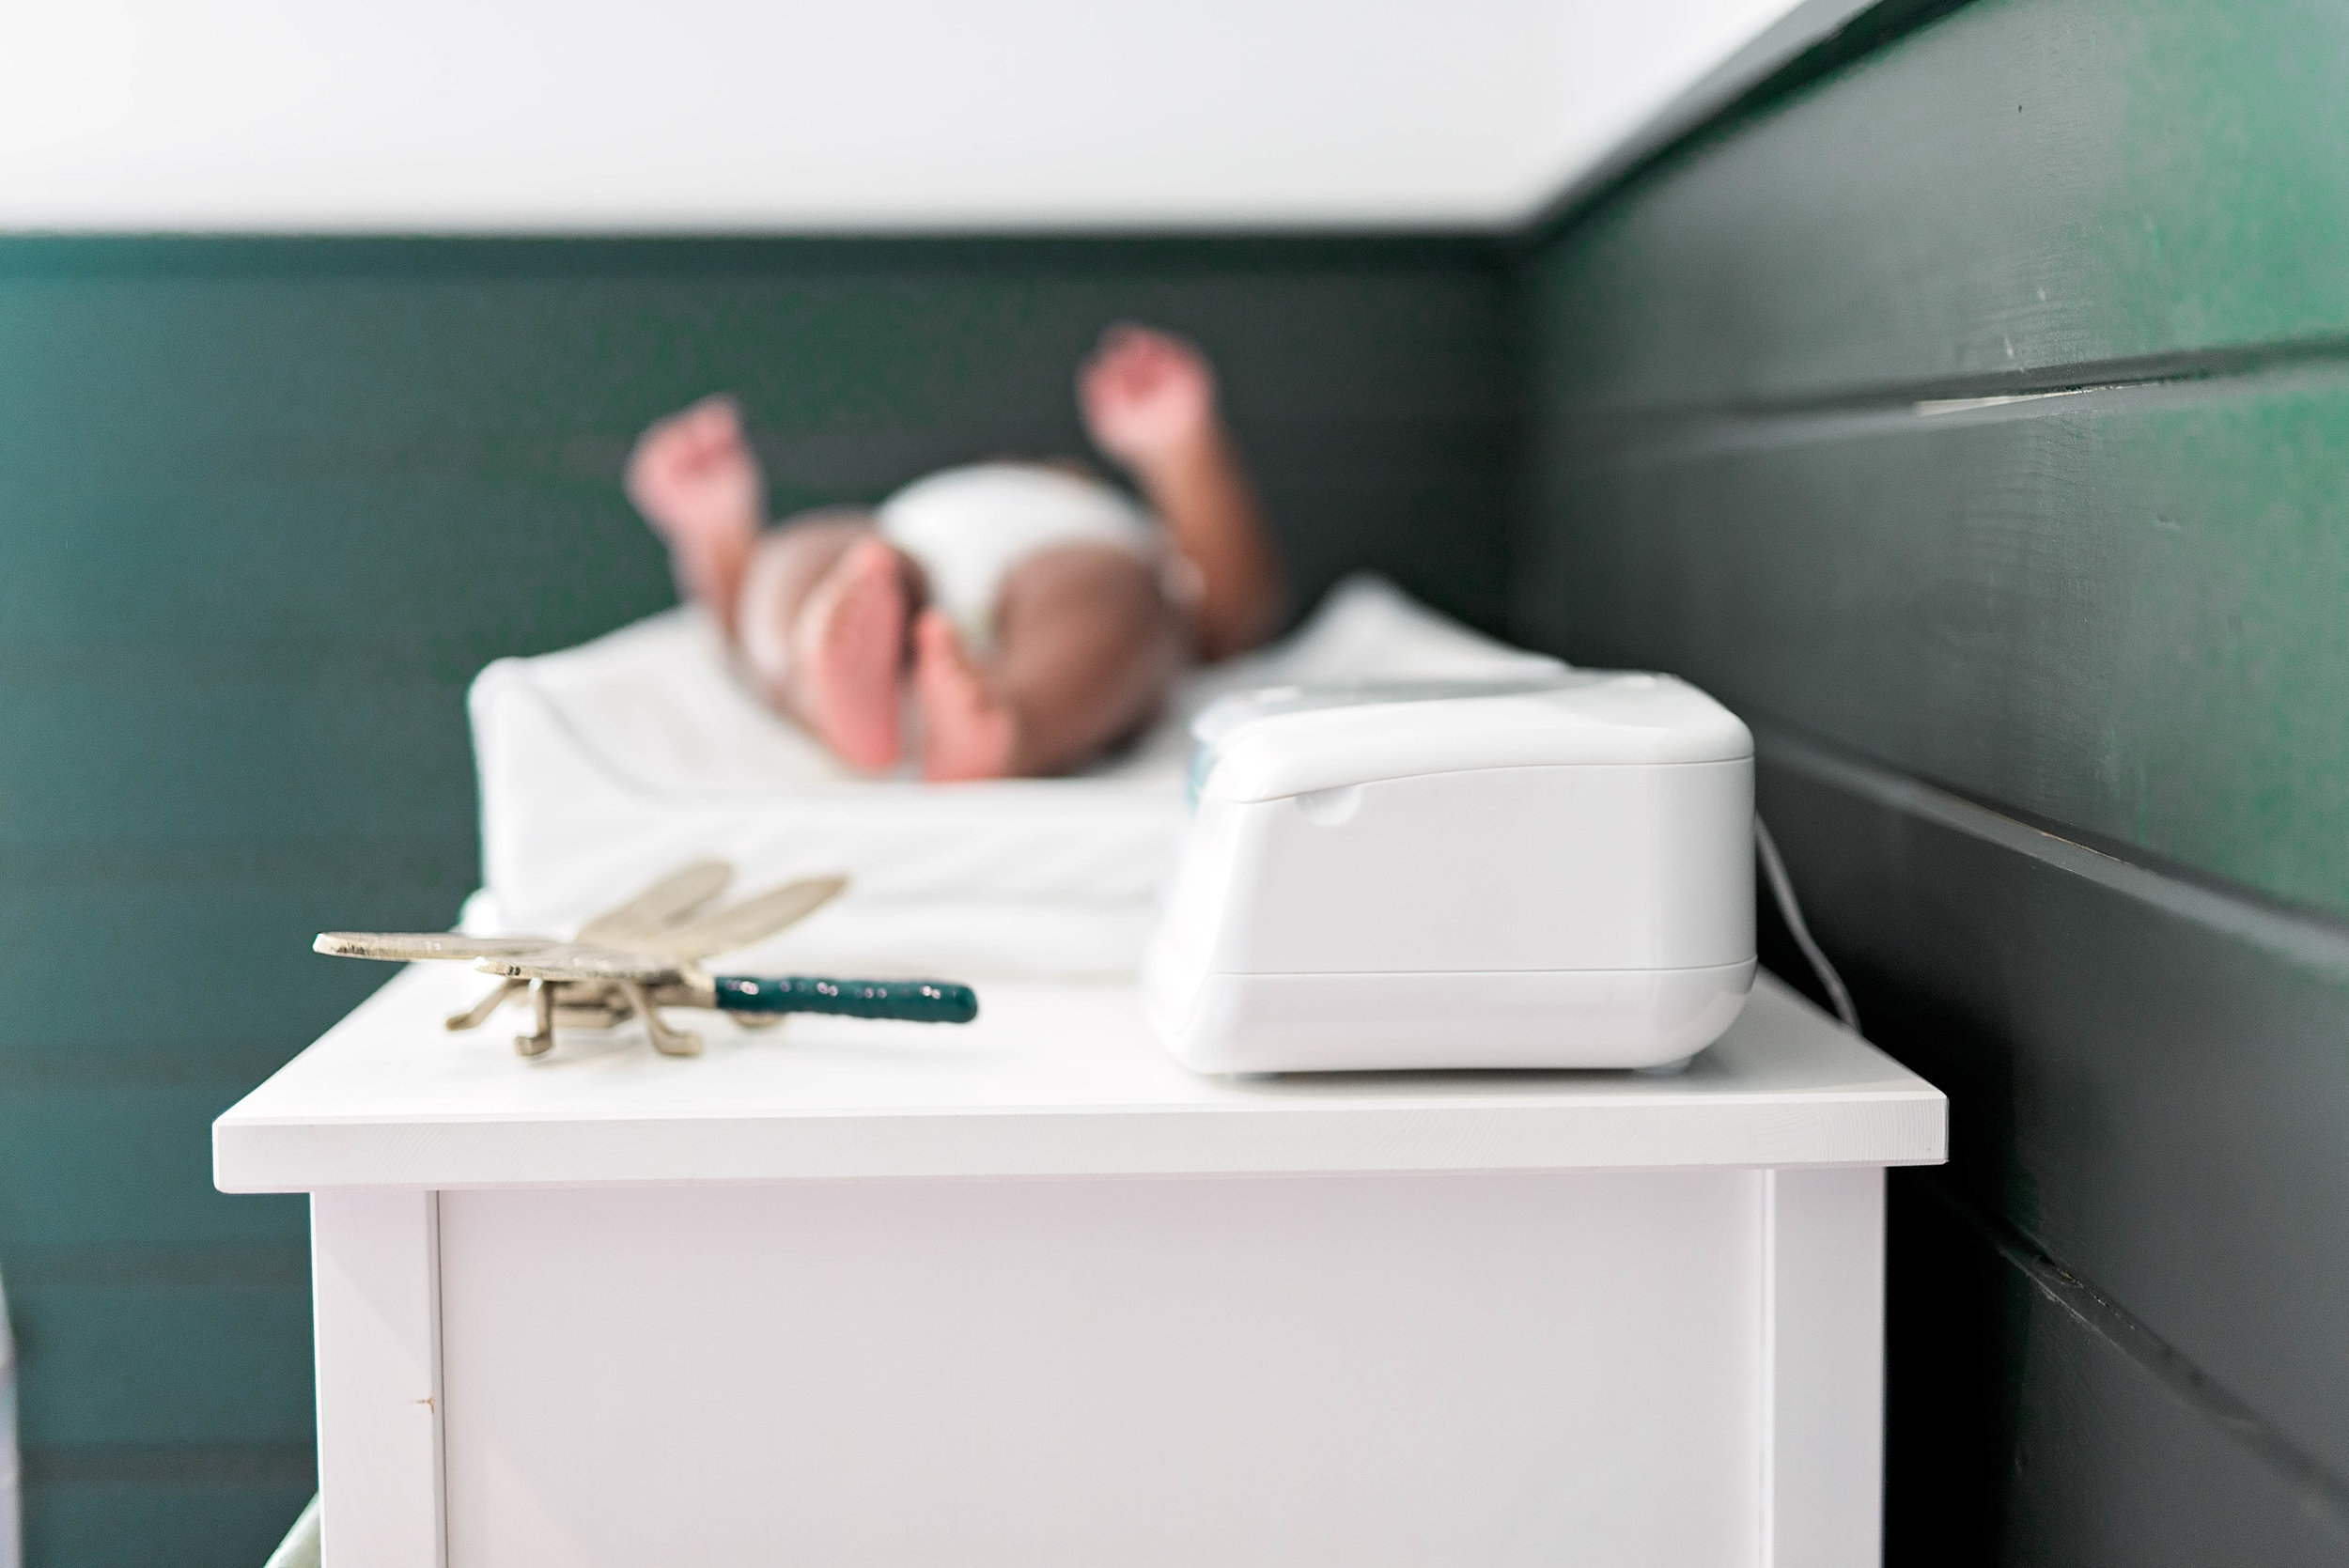

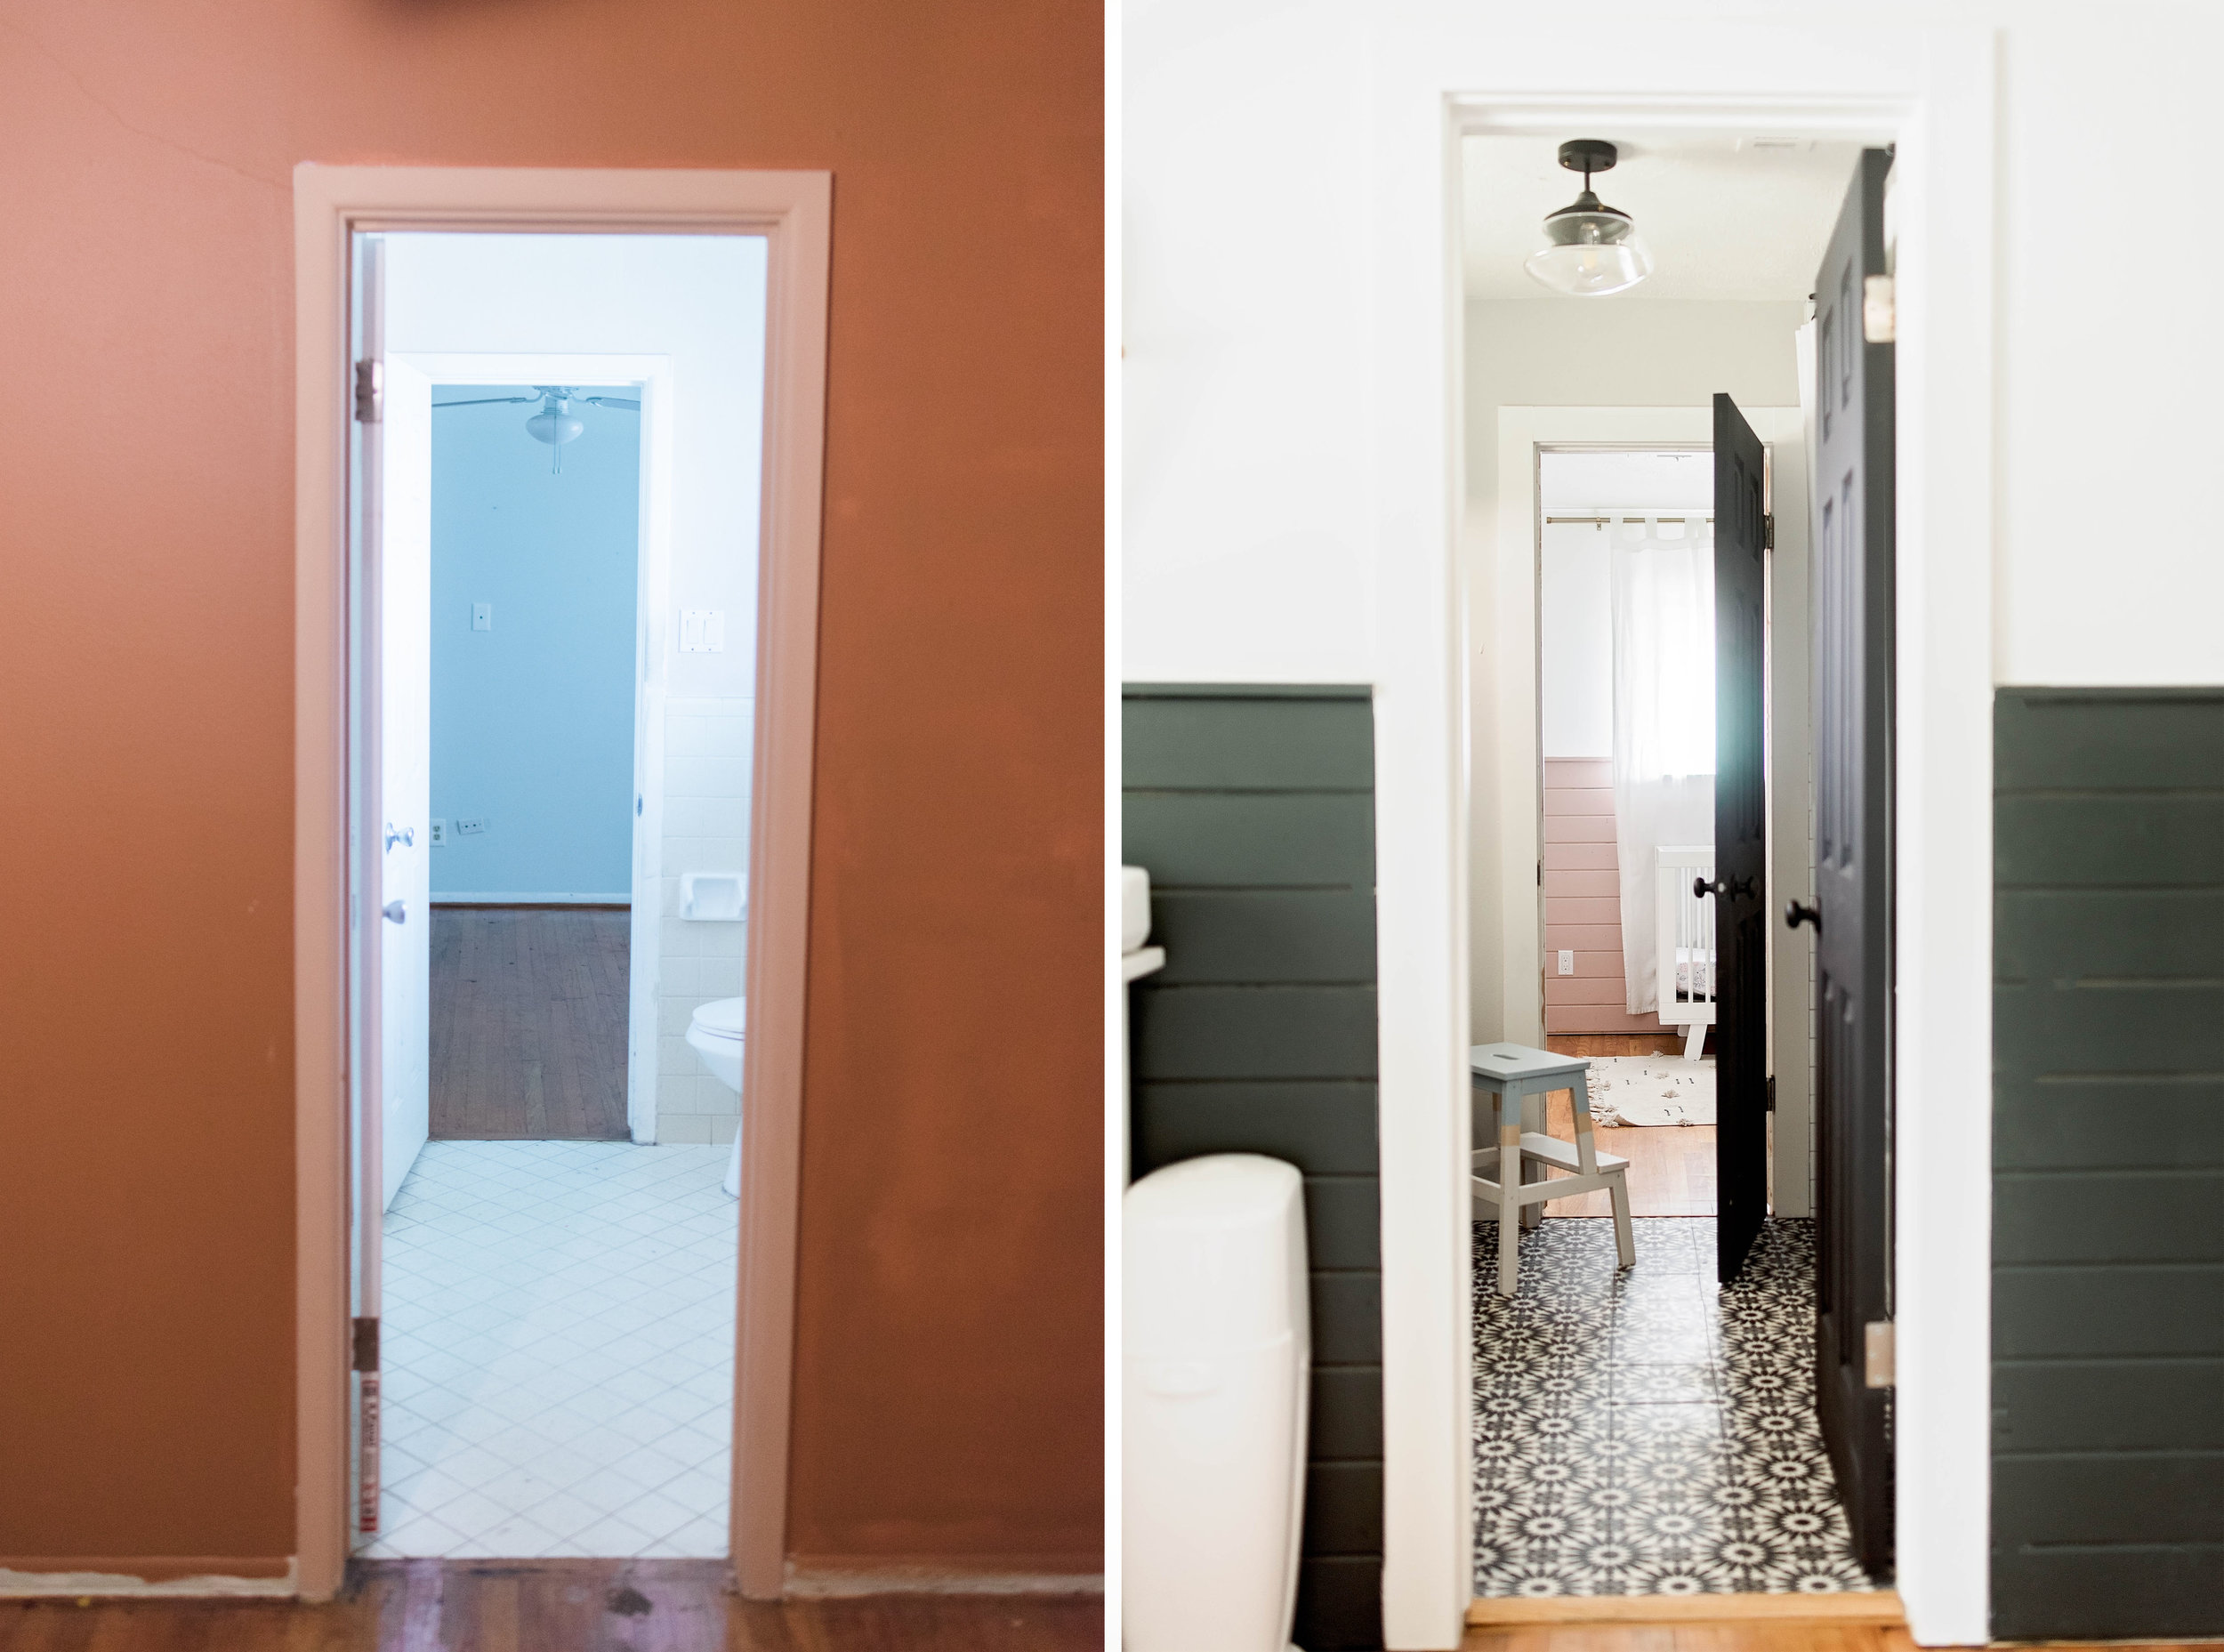
Green Wall Color: Sherwin Williams Ripe Olive
White Wall color: Sherwin Williams Pure White
Lighting: CB3
Blinds: Blinds Galore
Rug: Urban Outfitters
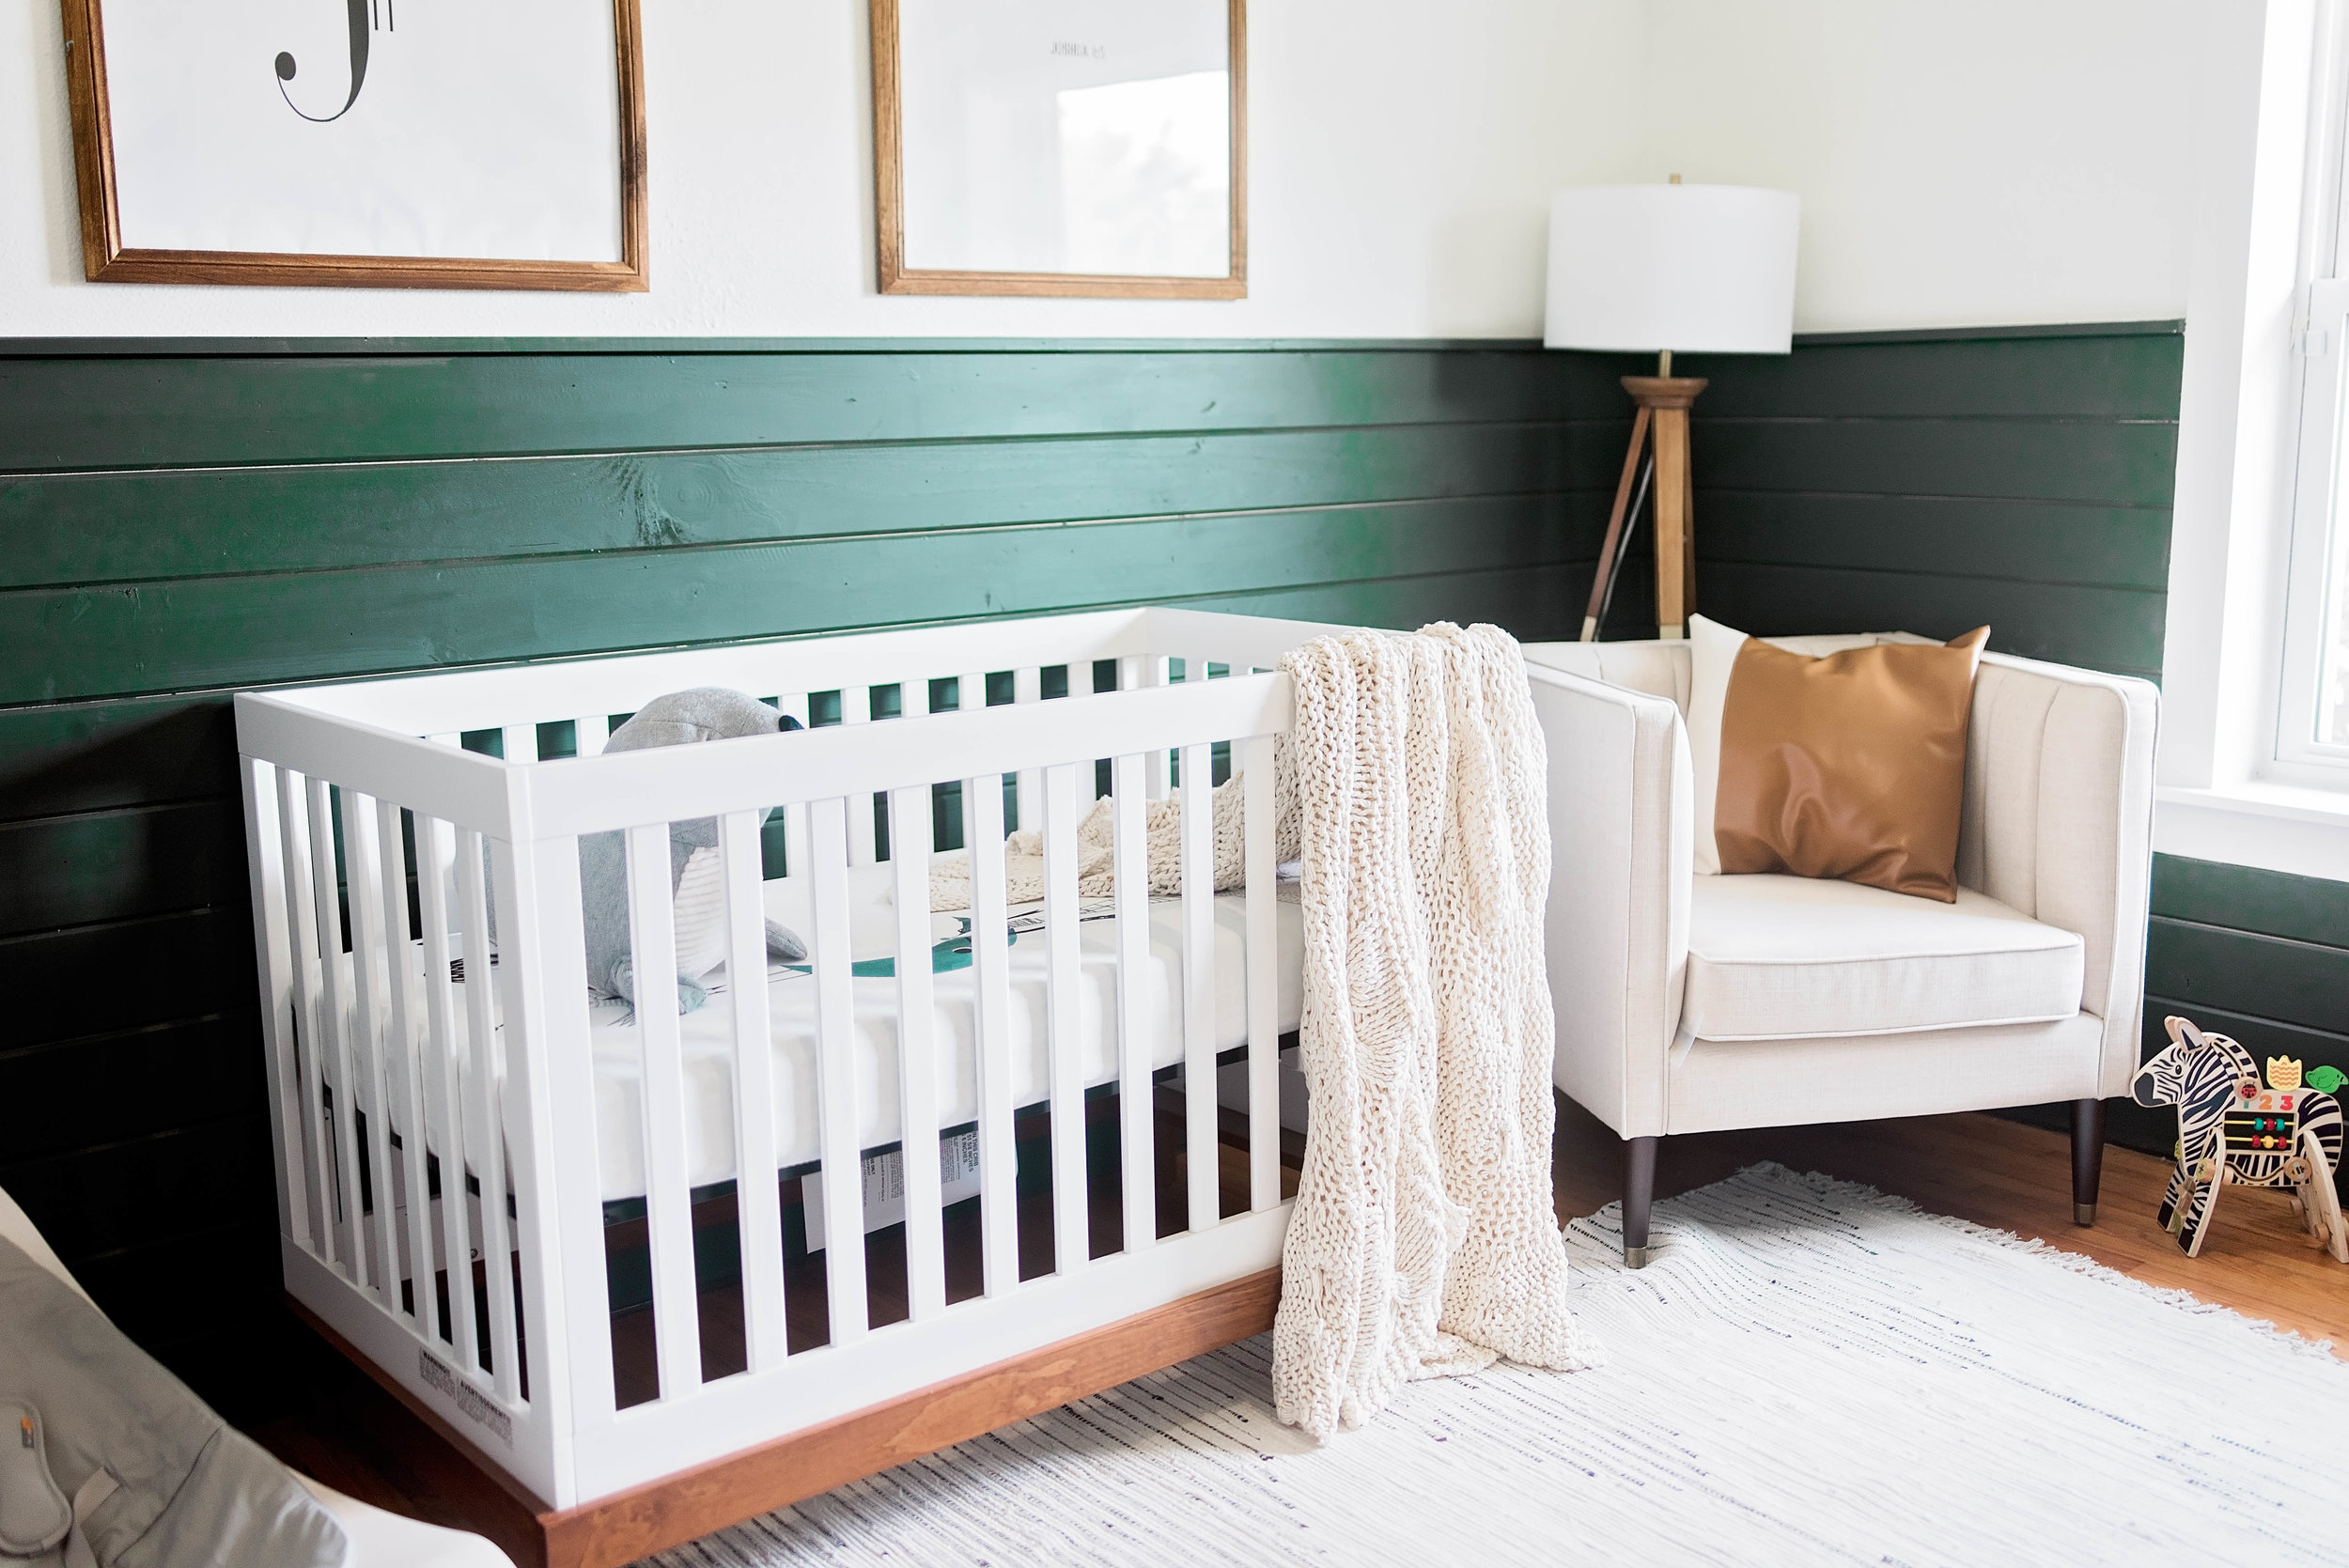
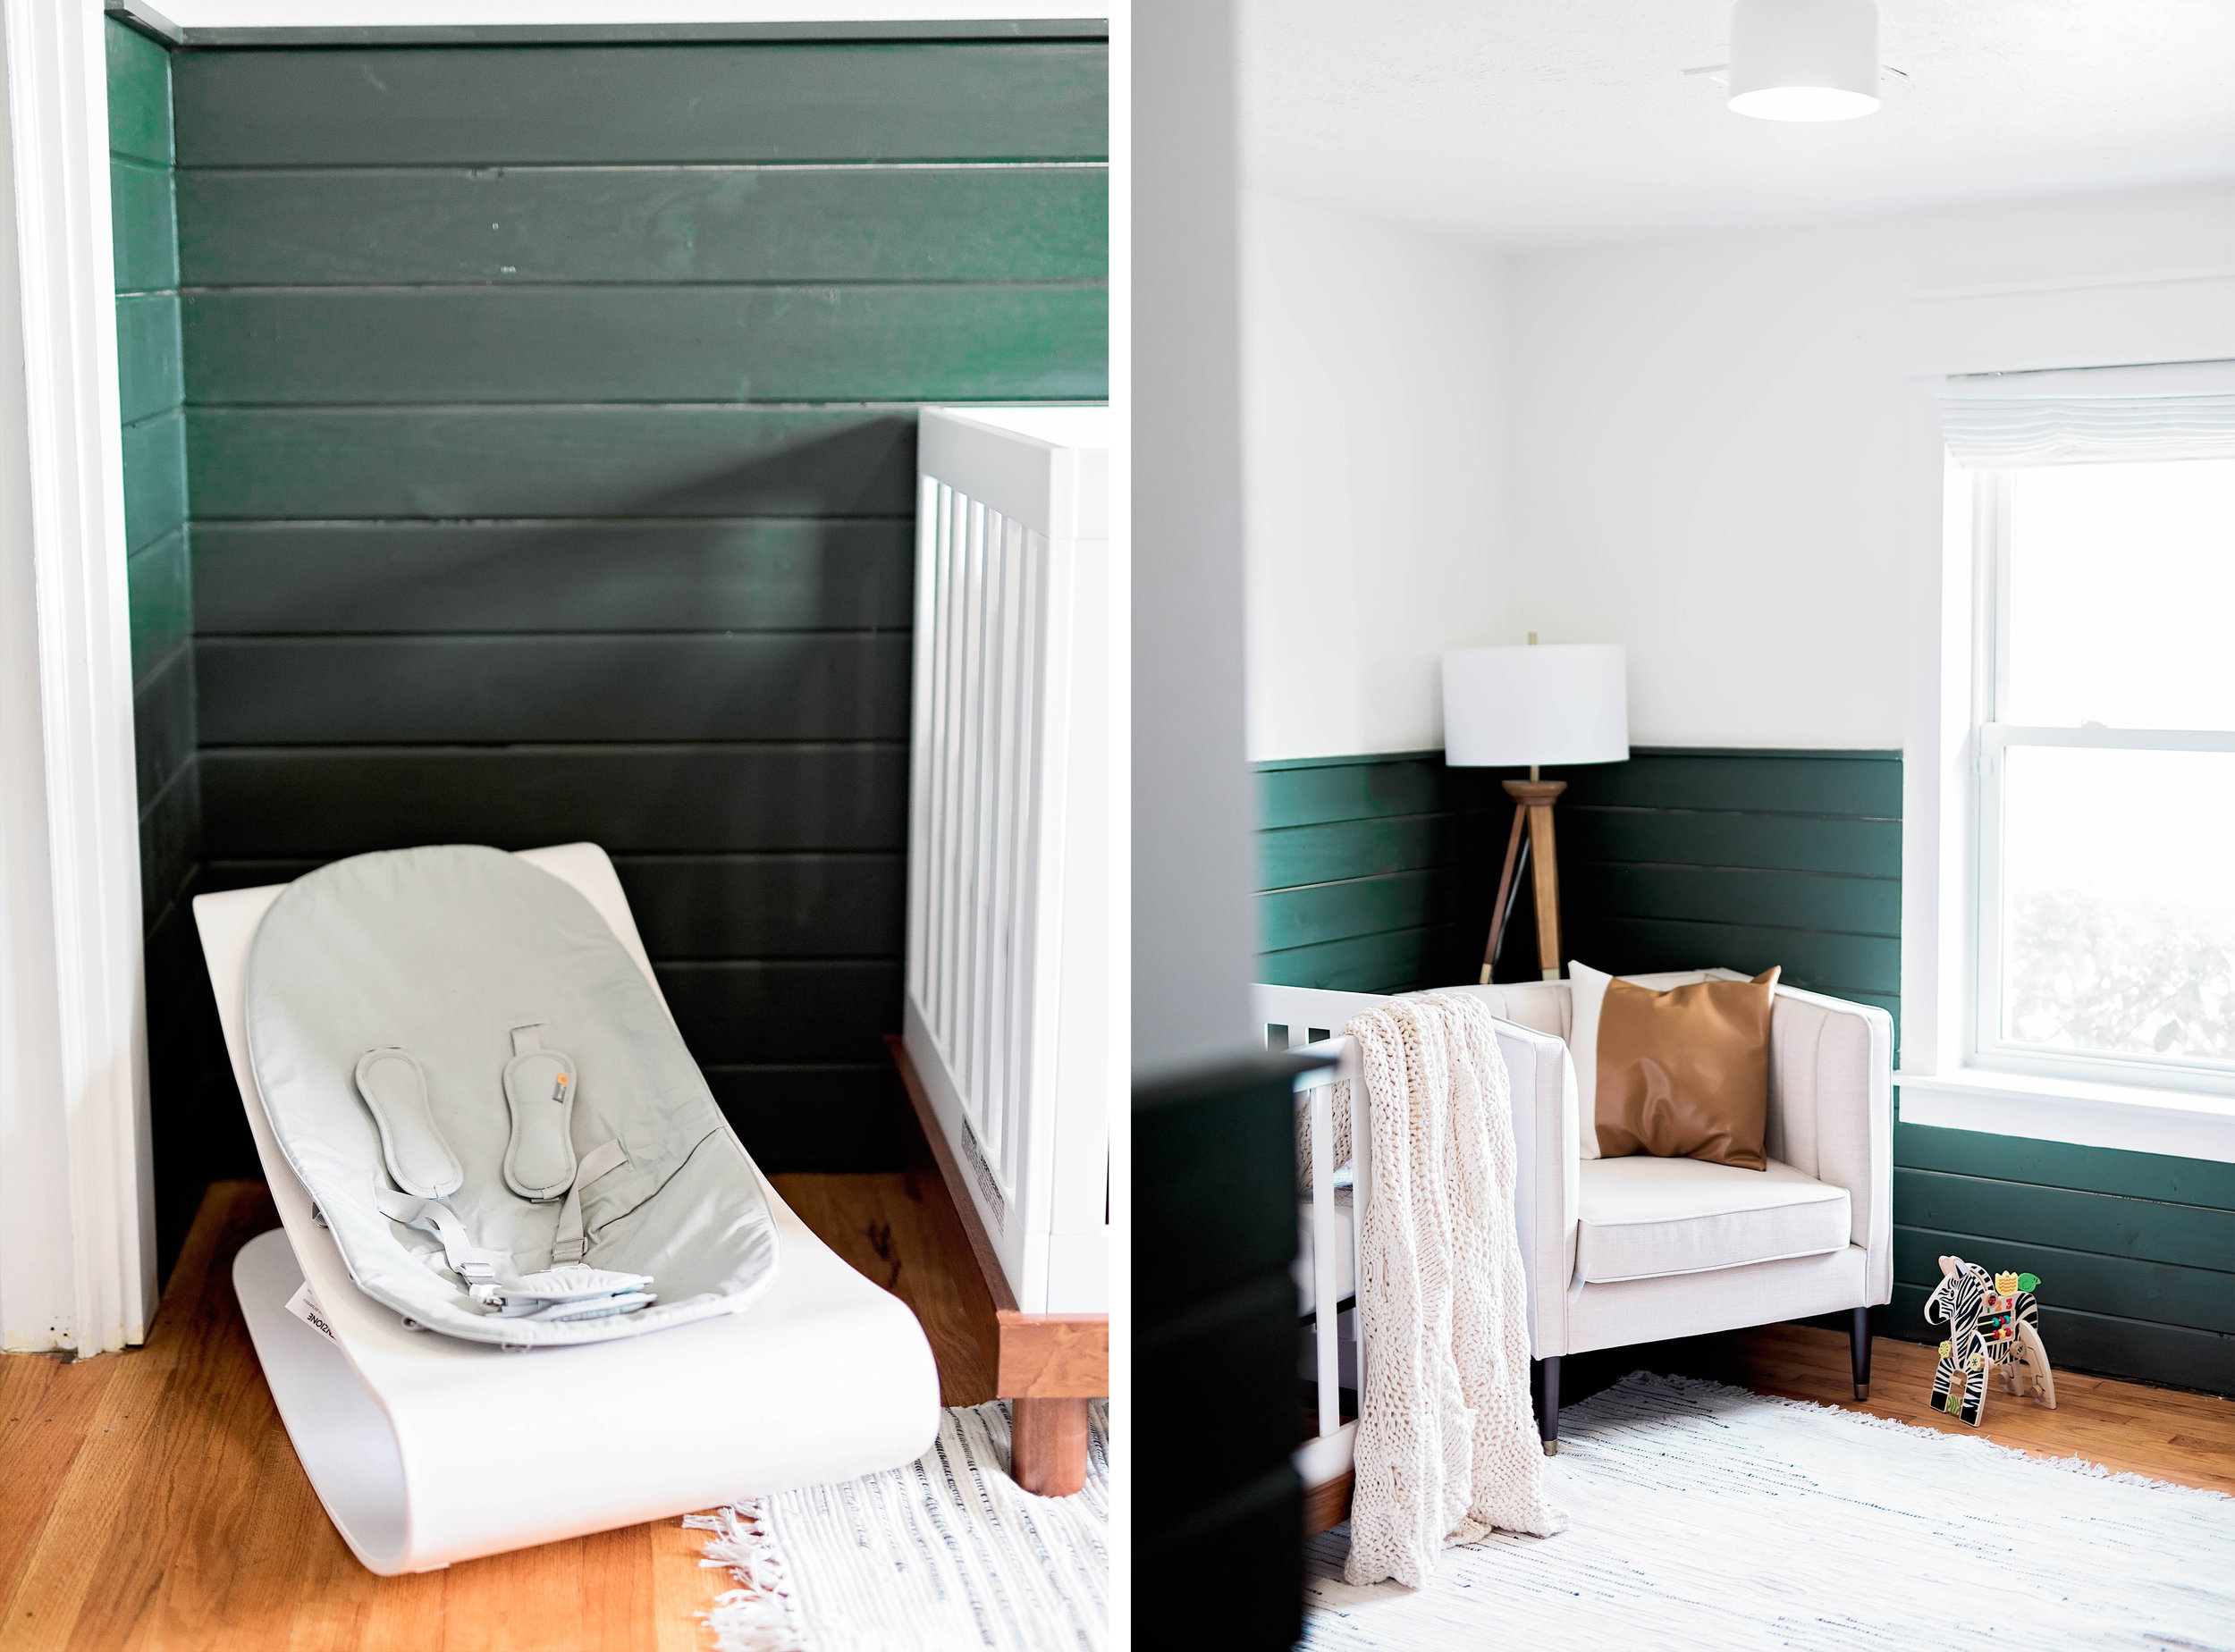
Chair: Target
Wooden Lamp: Target
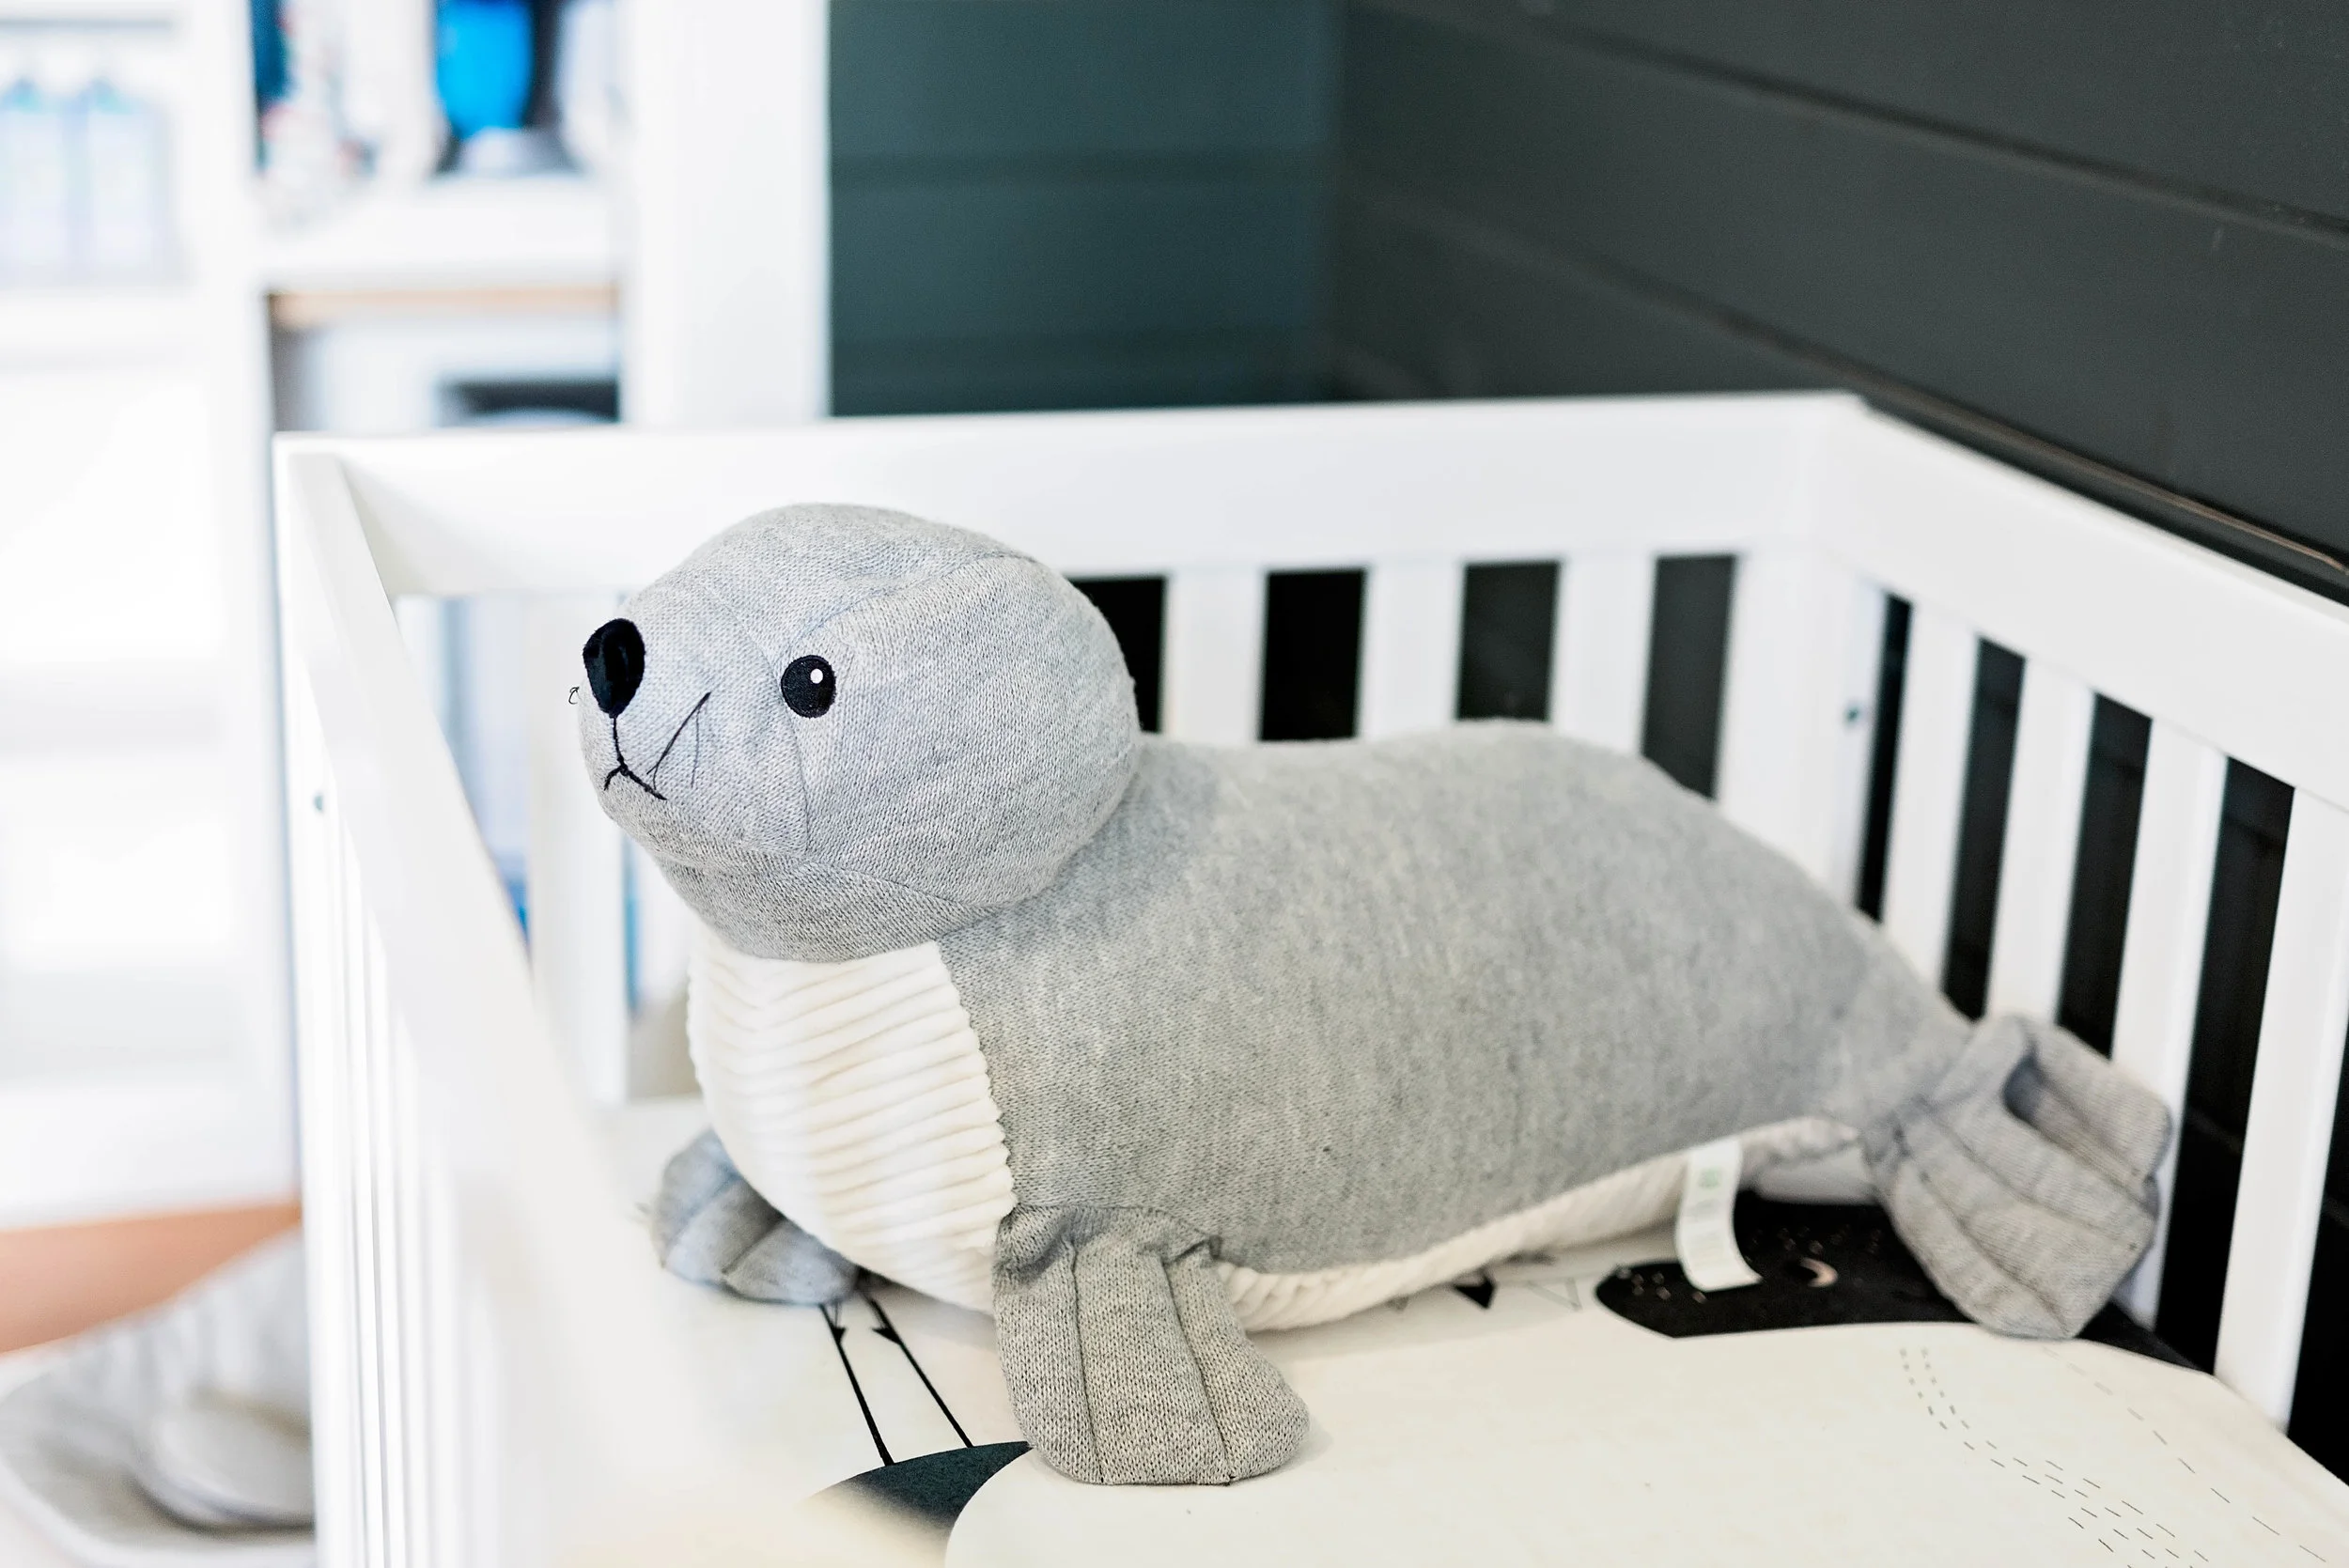
Crib: Allmodern.com
Mattress: Amazon
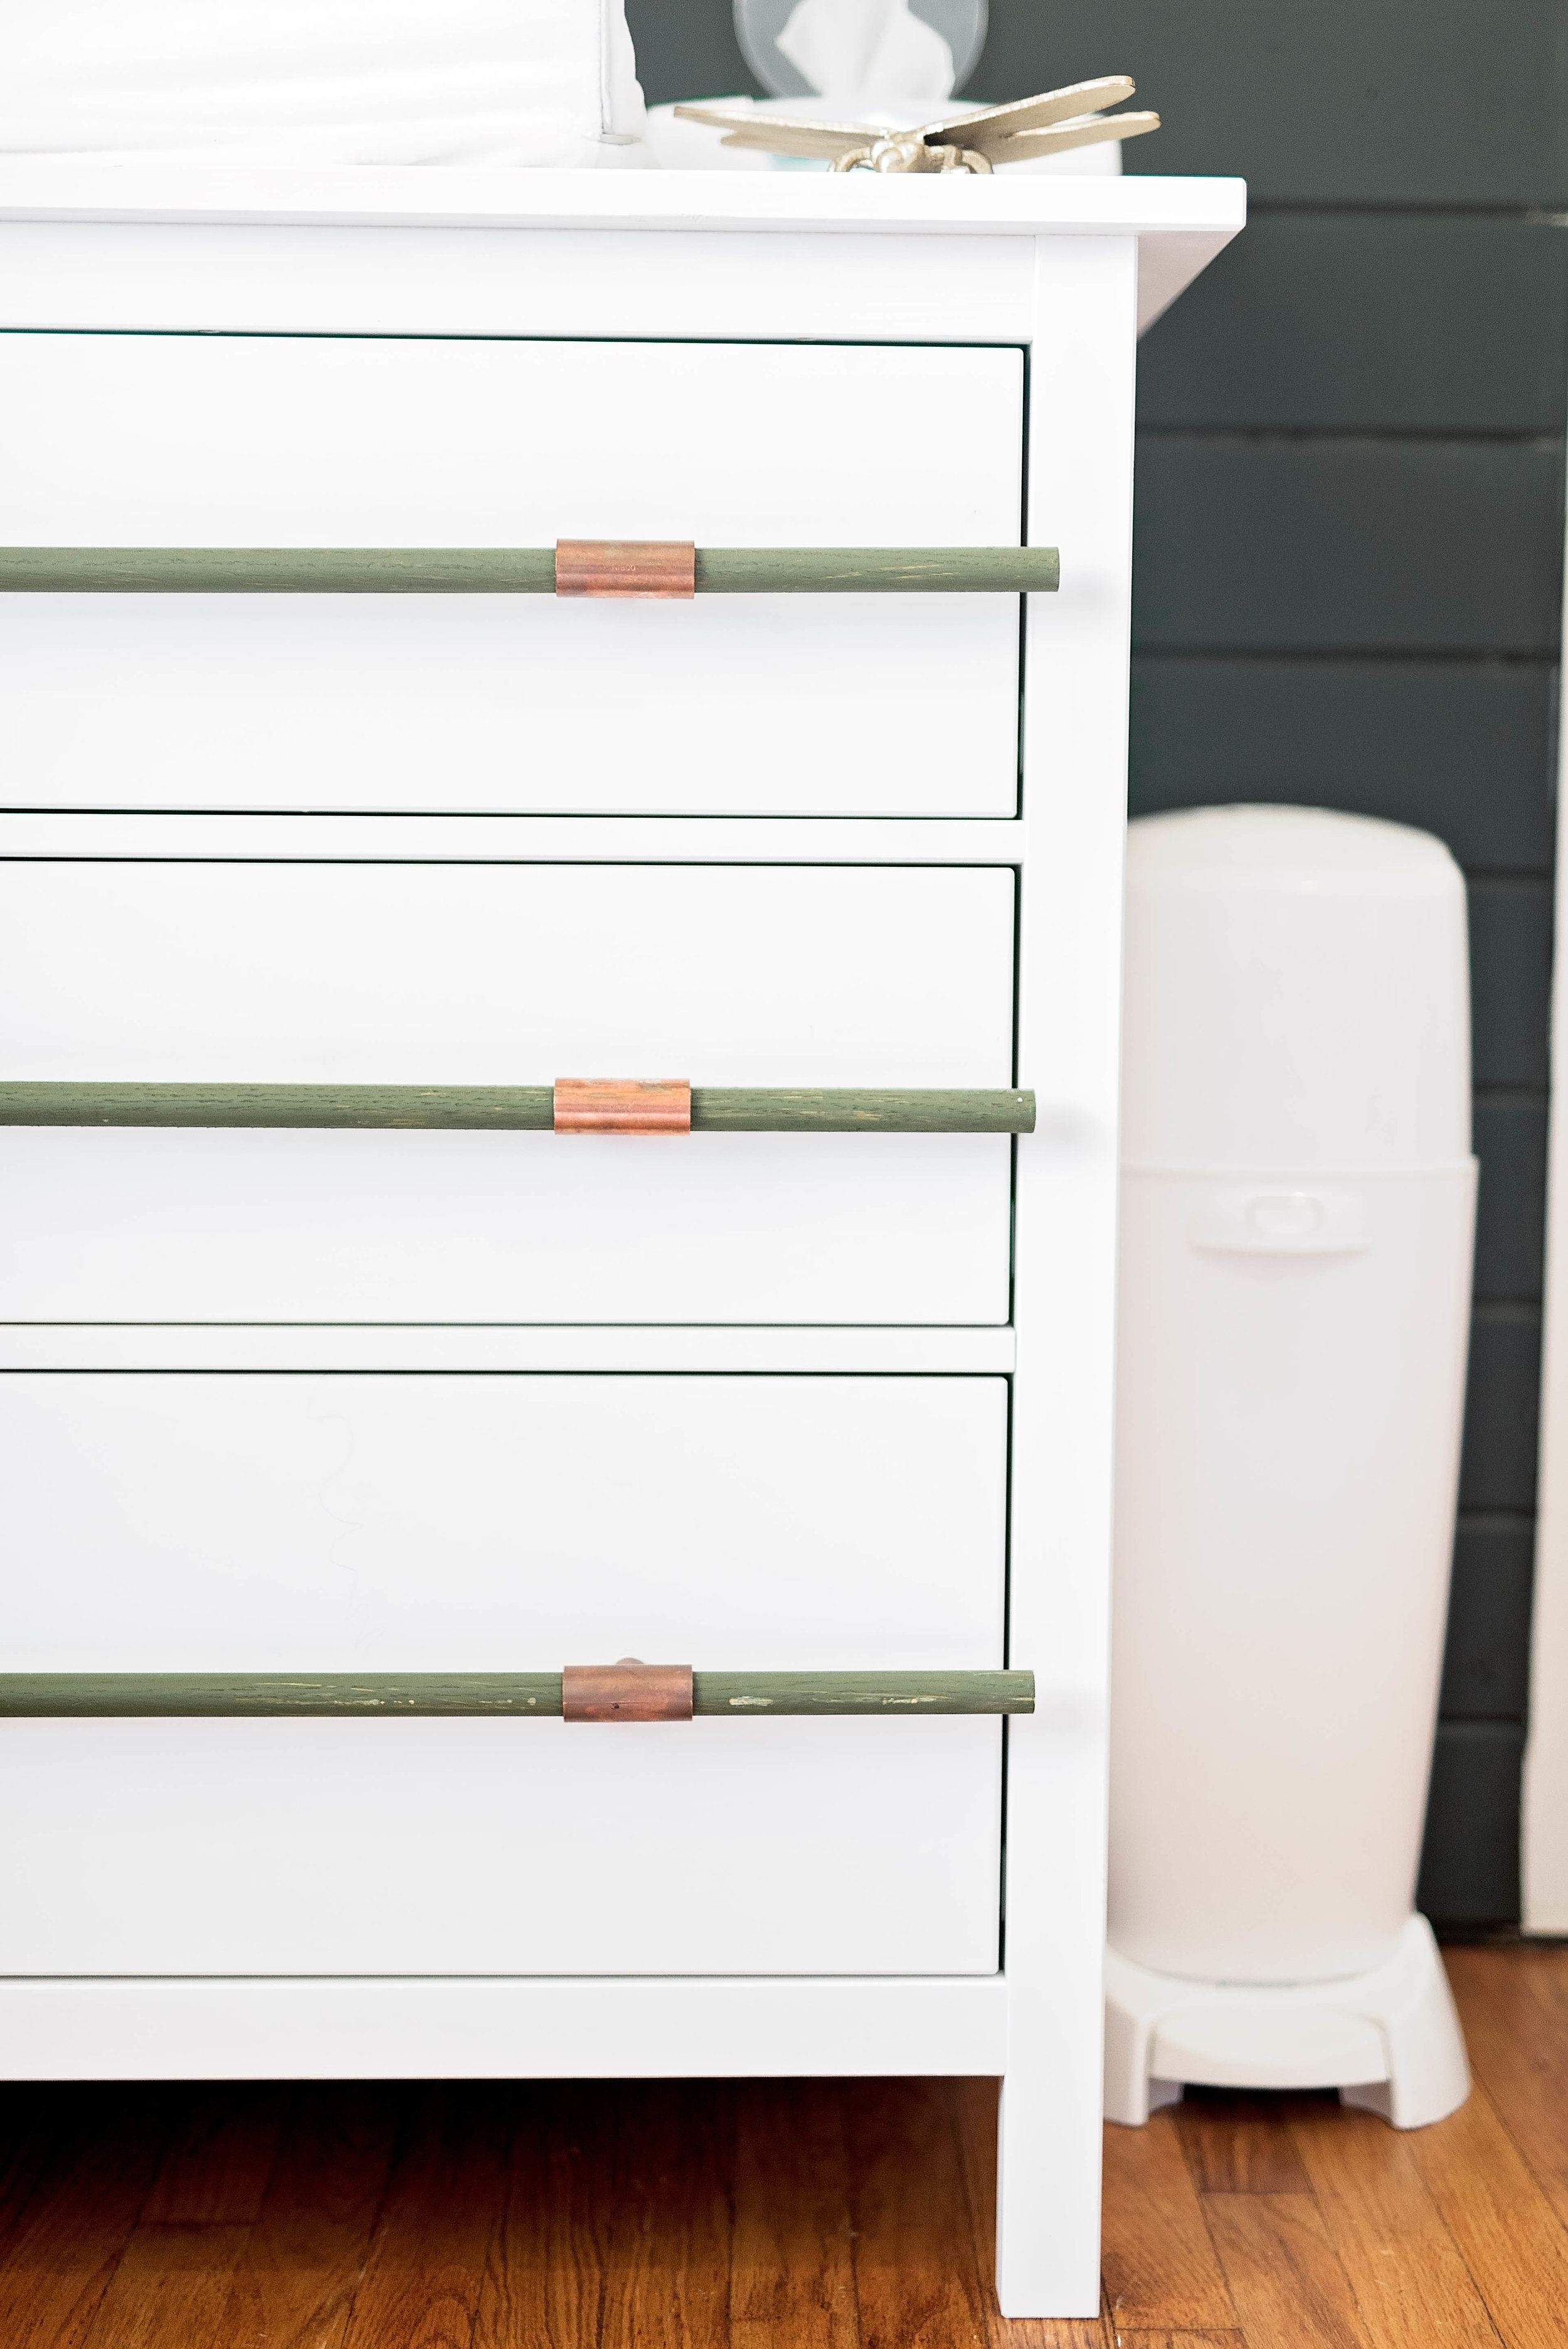
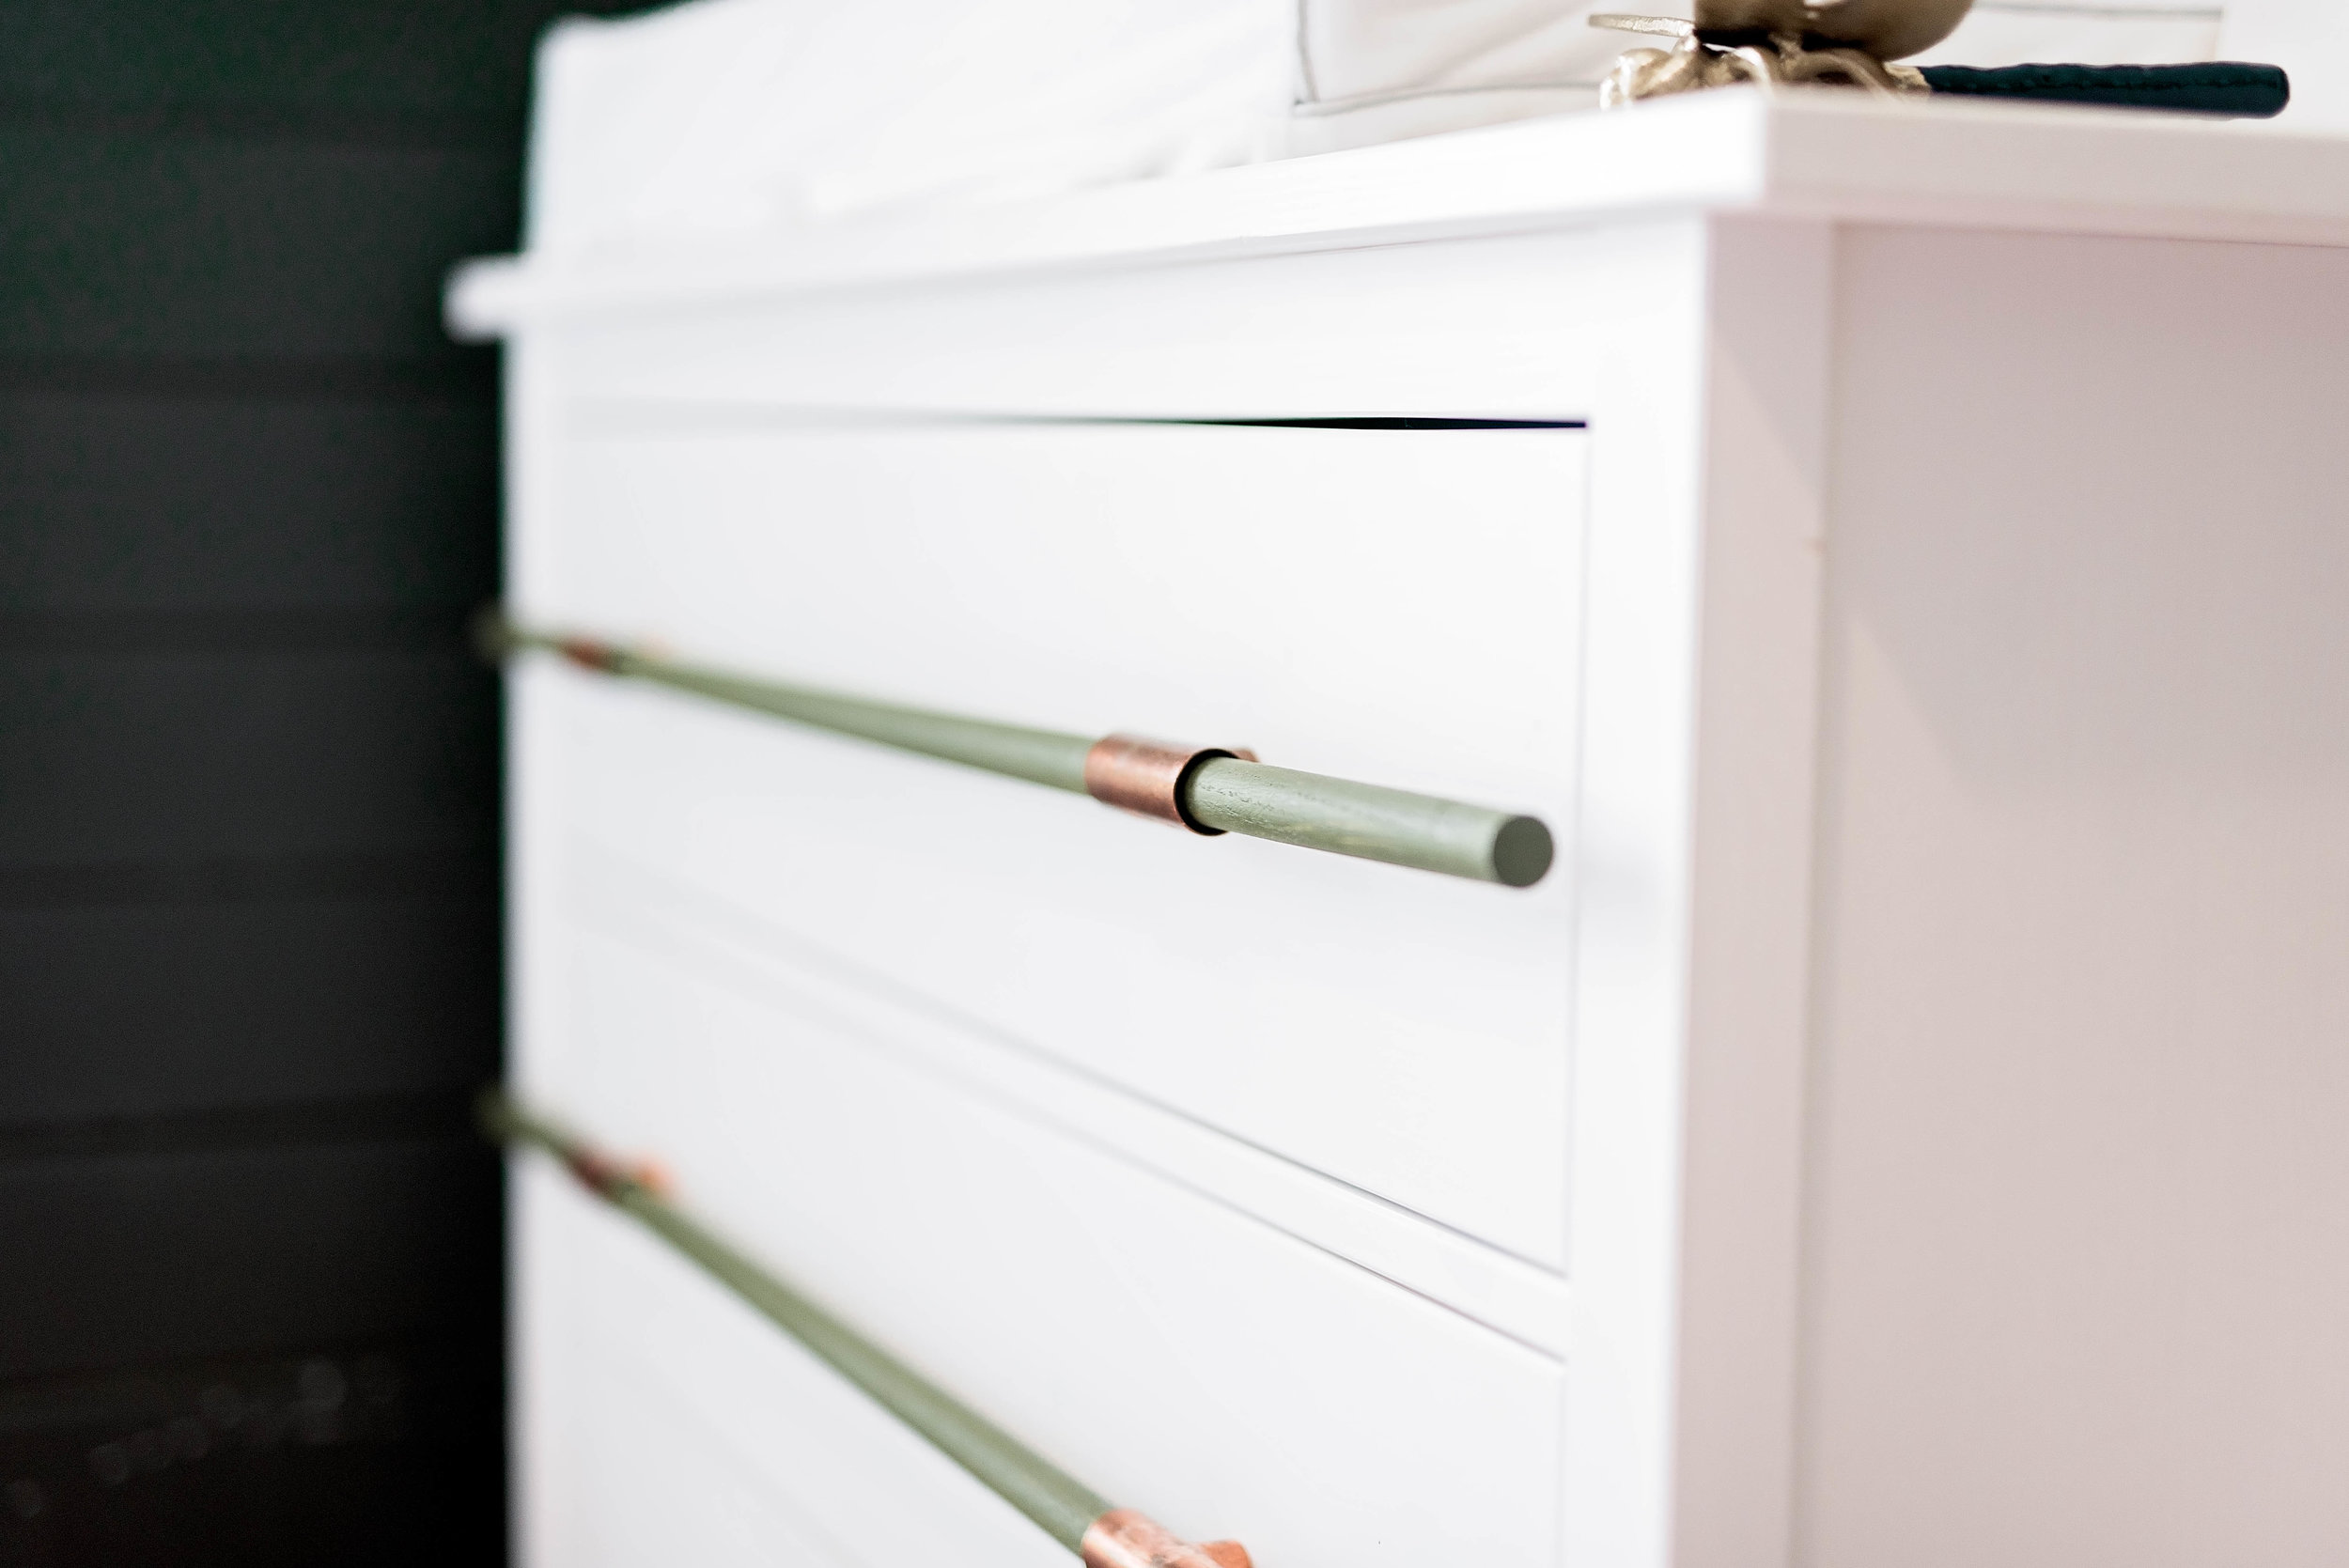
Dresser: Ikea
Diaper Genie: Target
Changing Pad: Cozy Cheekz (the BEST)
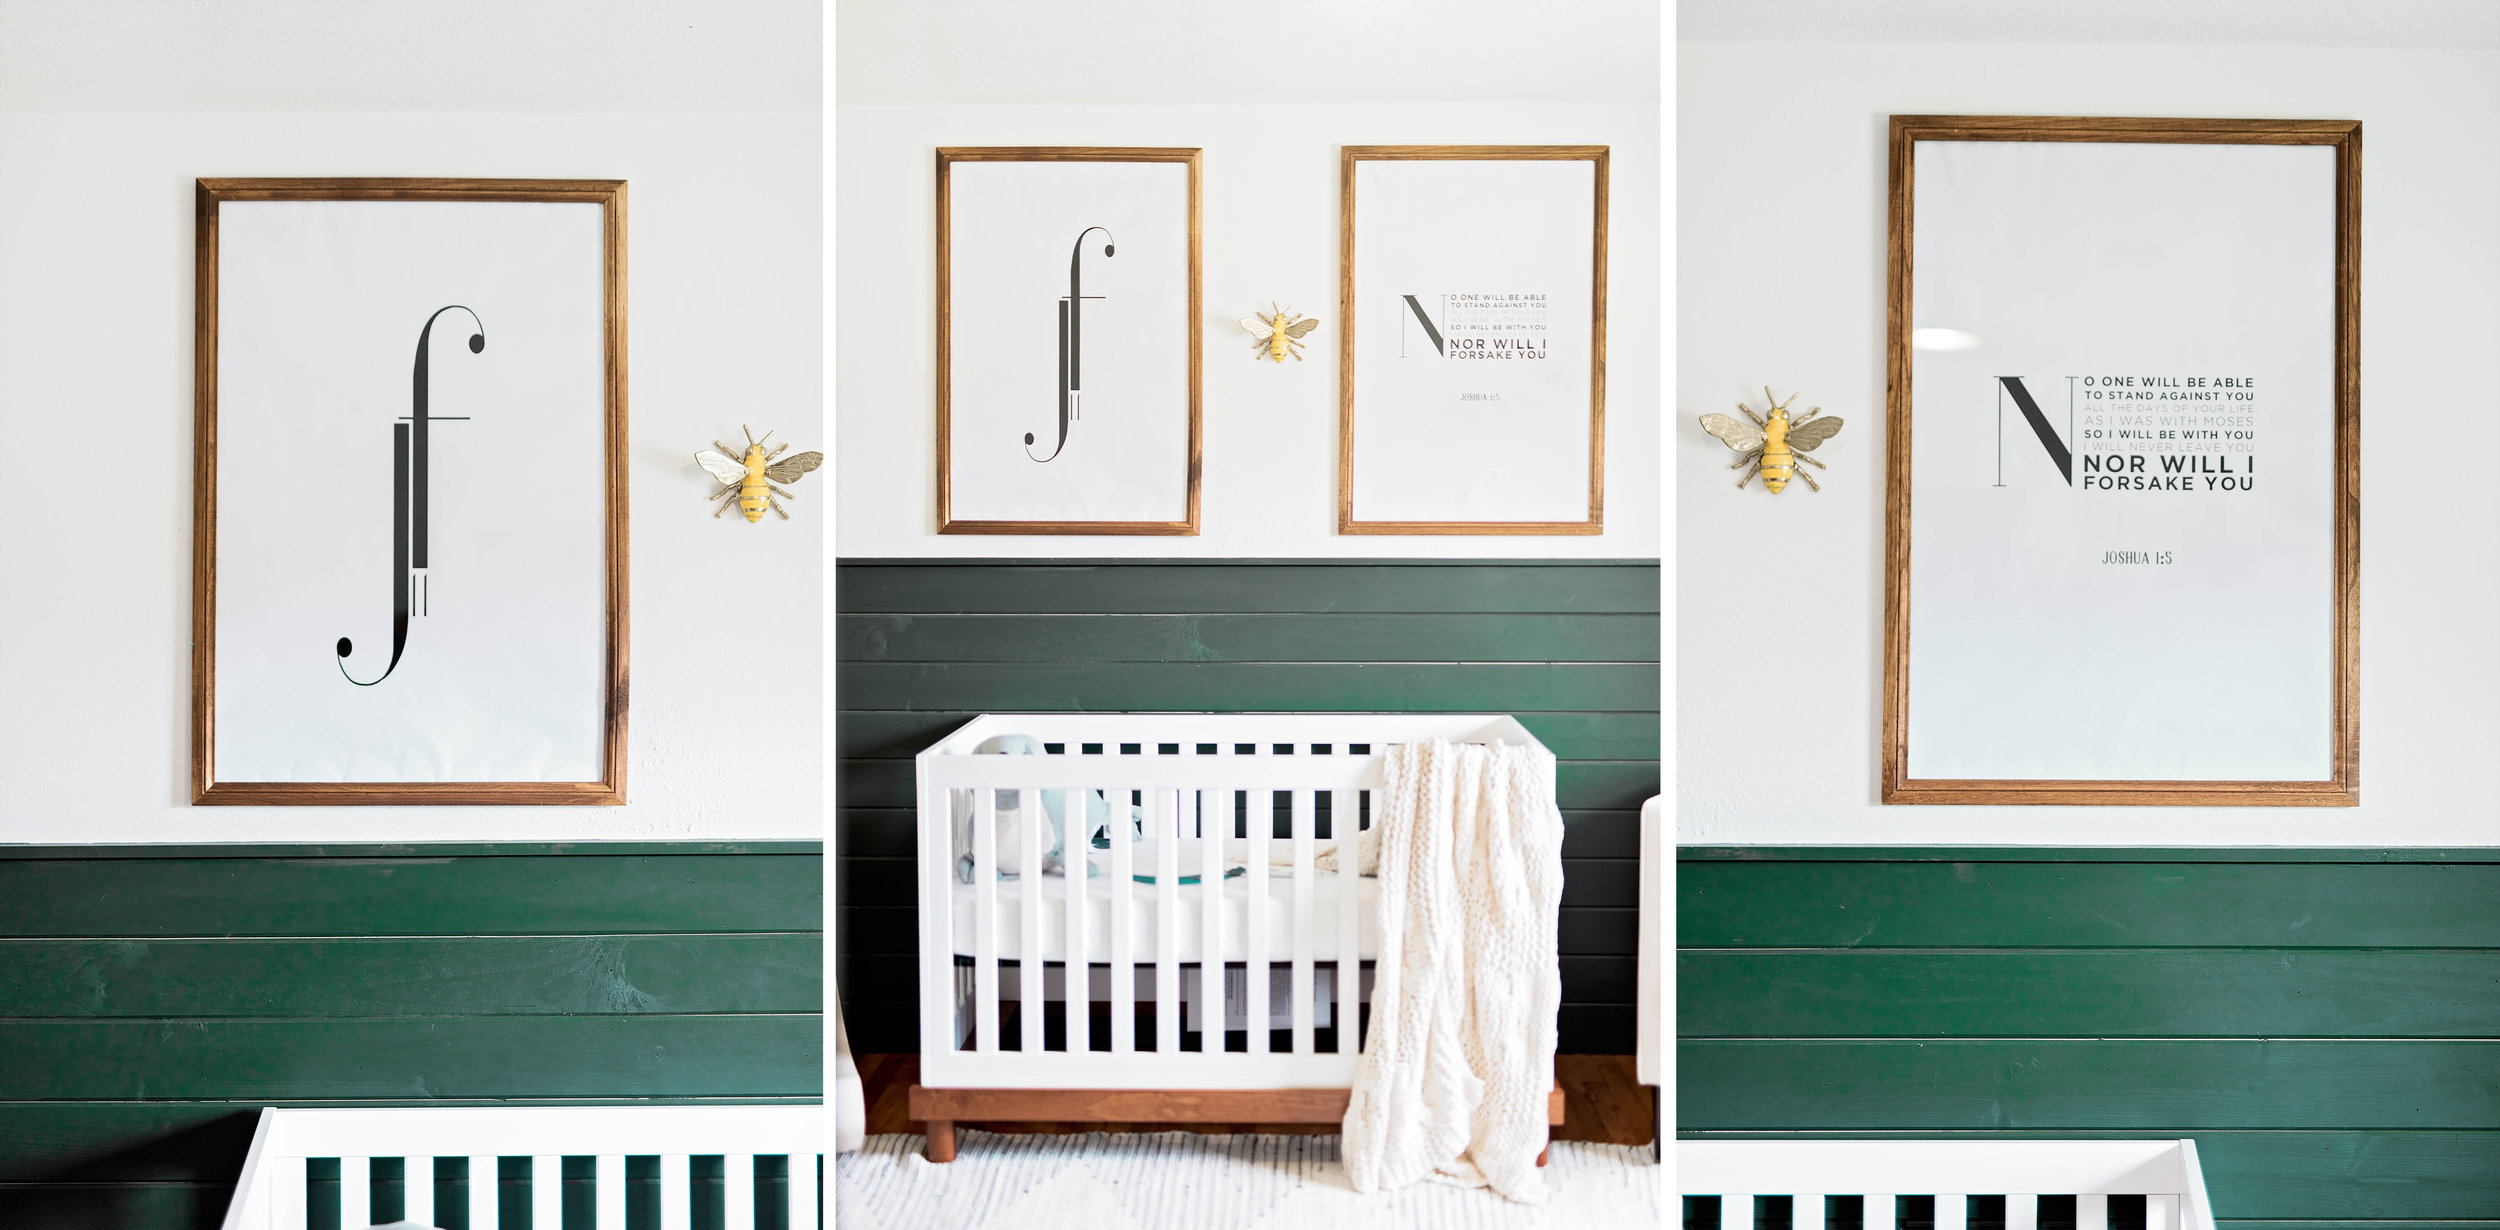
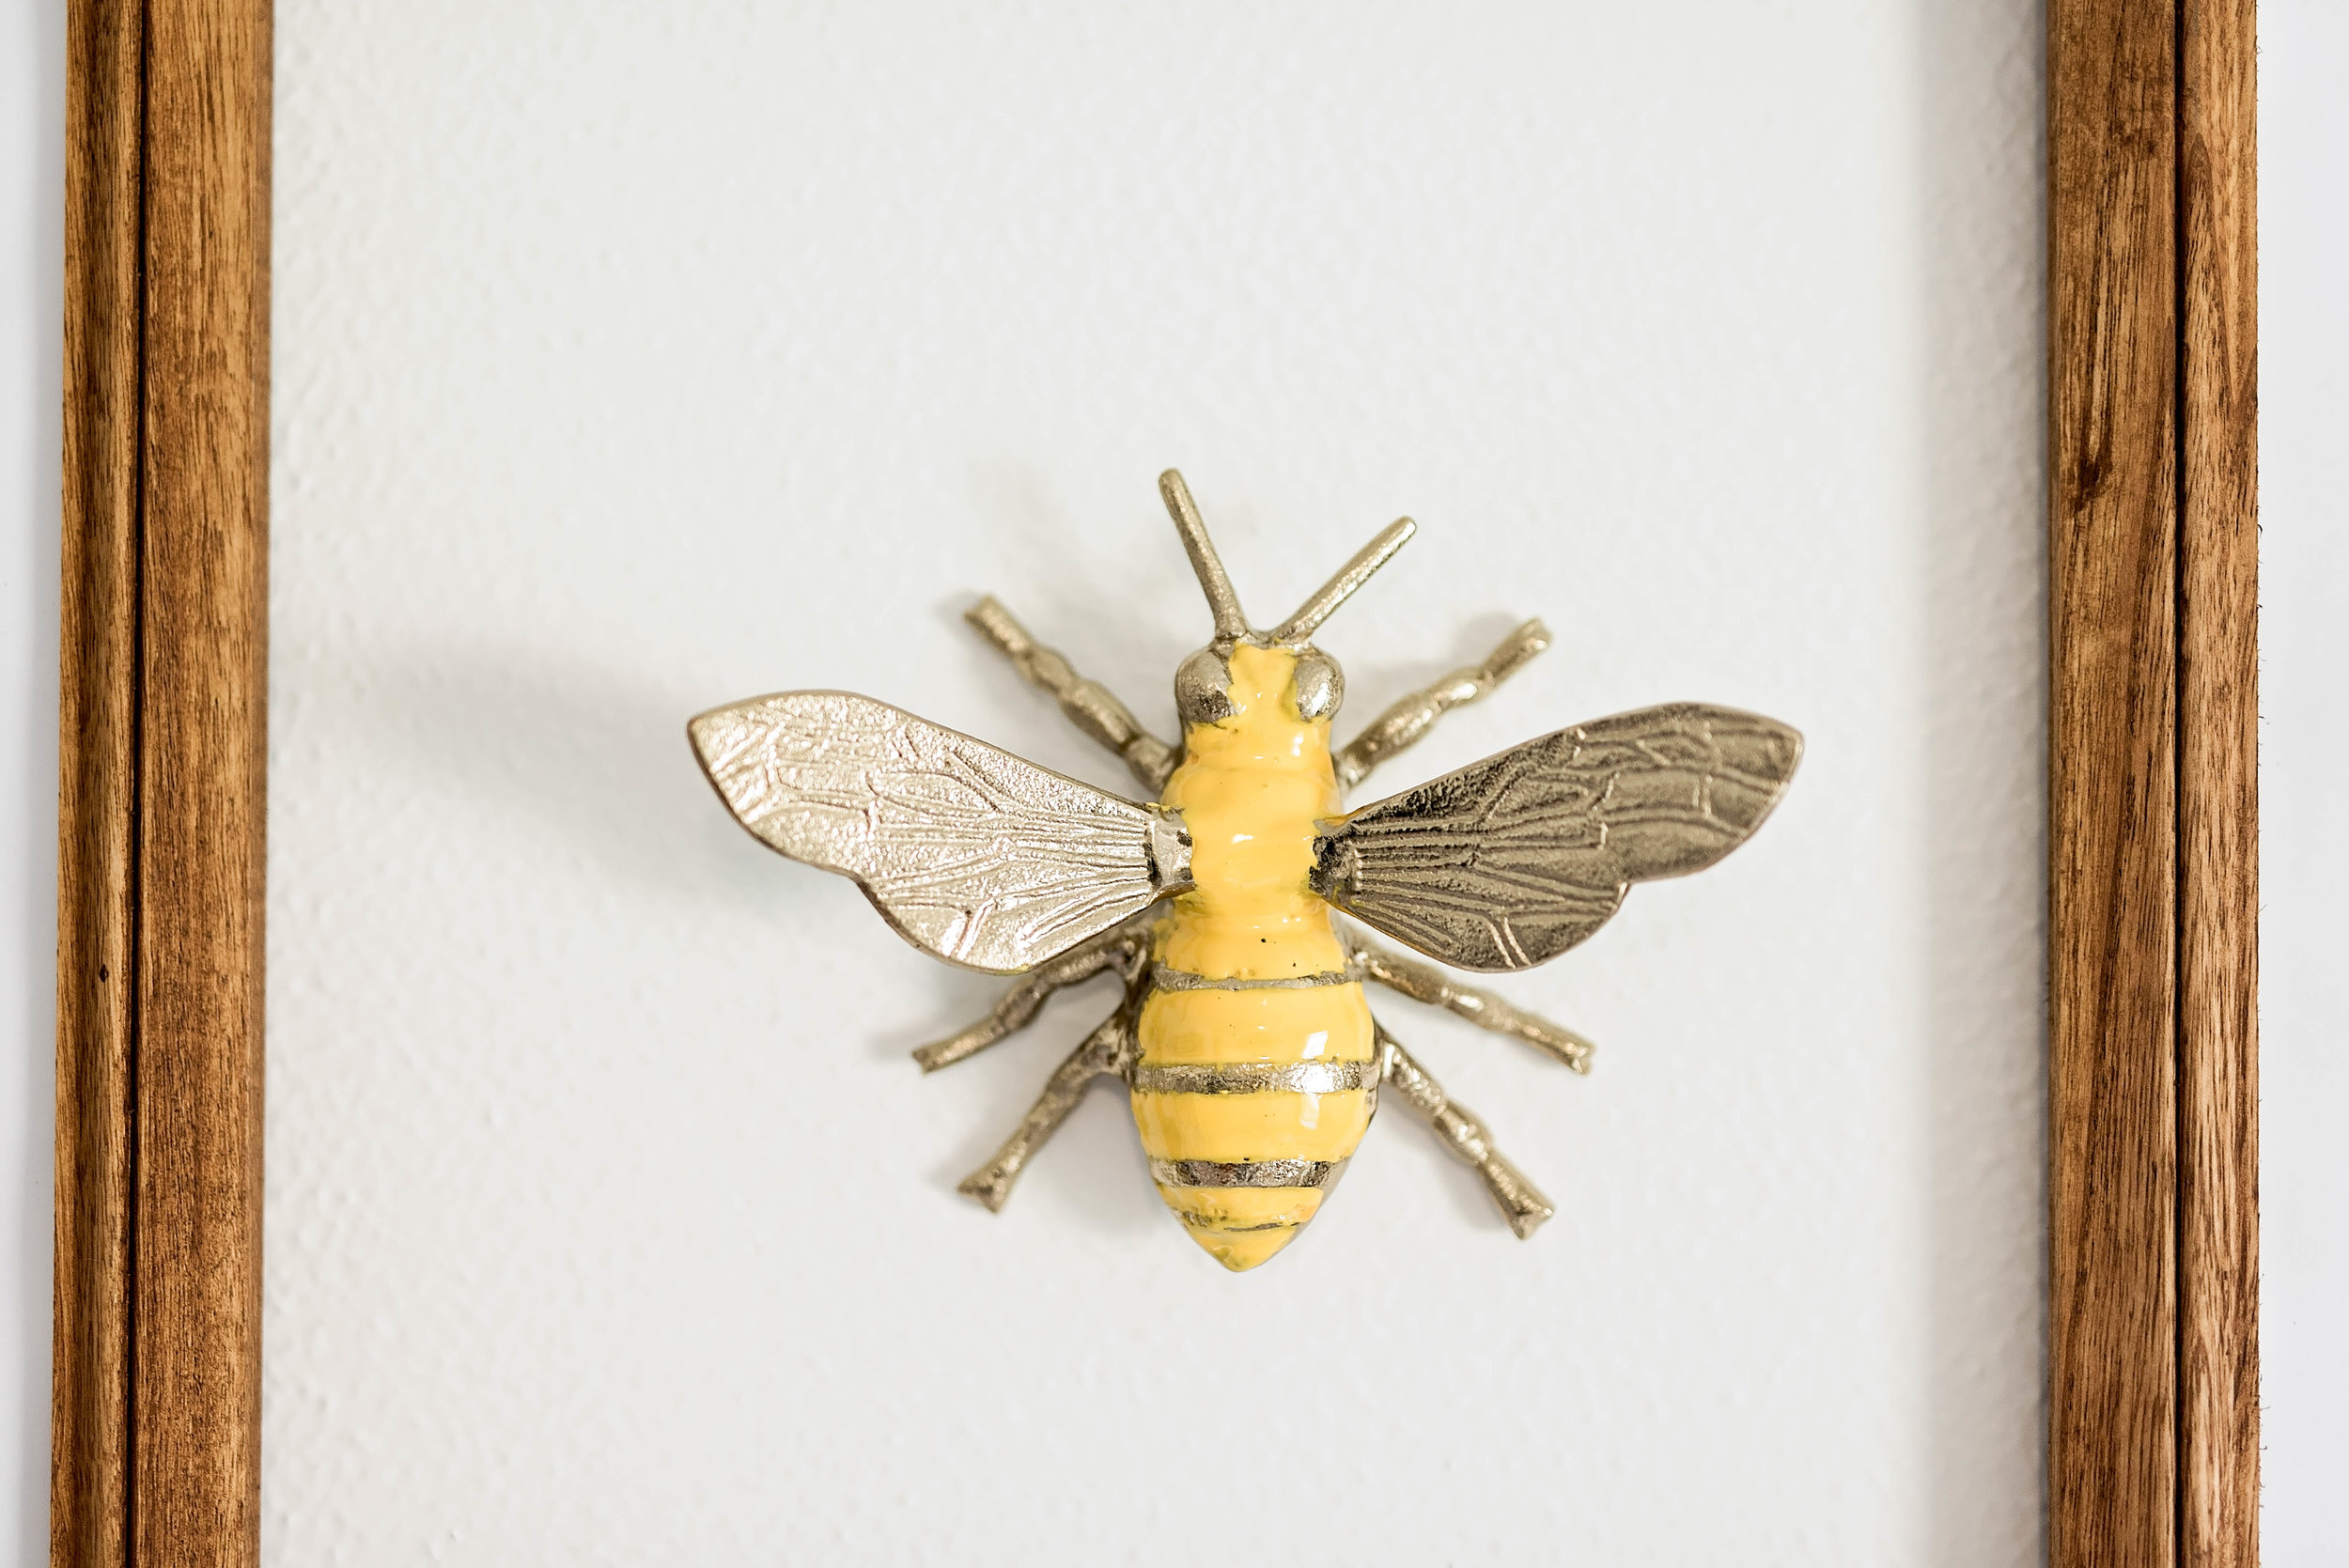
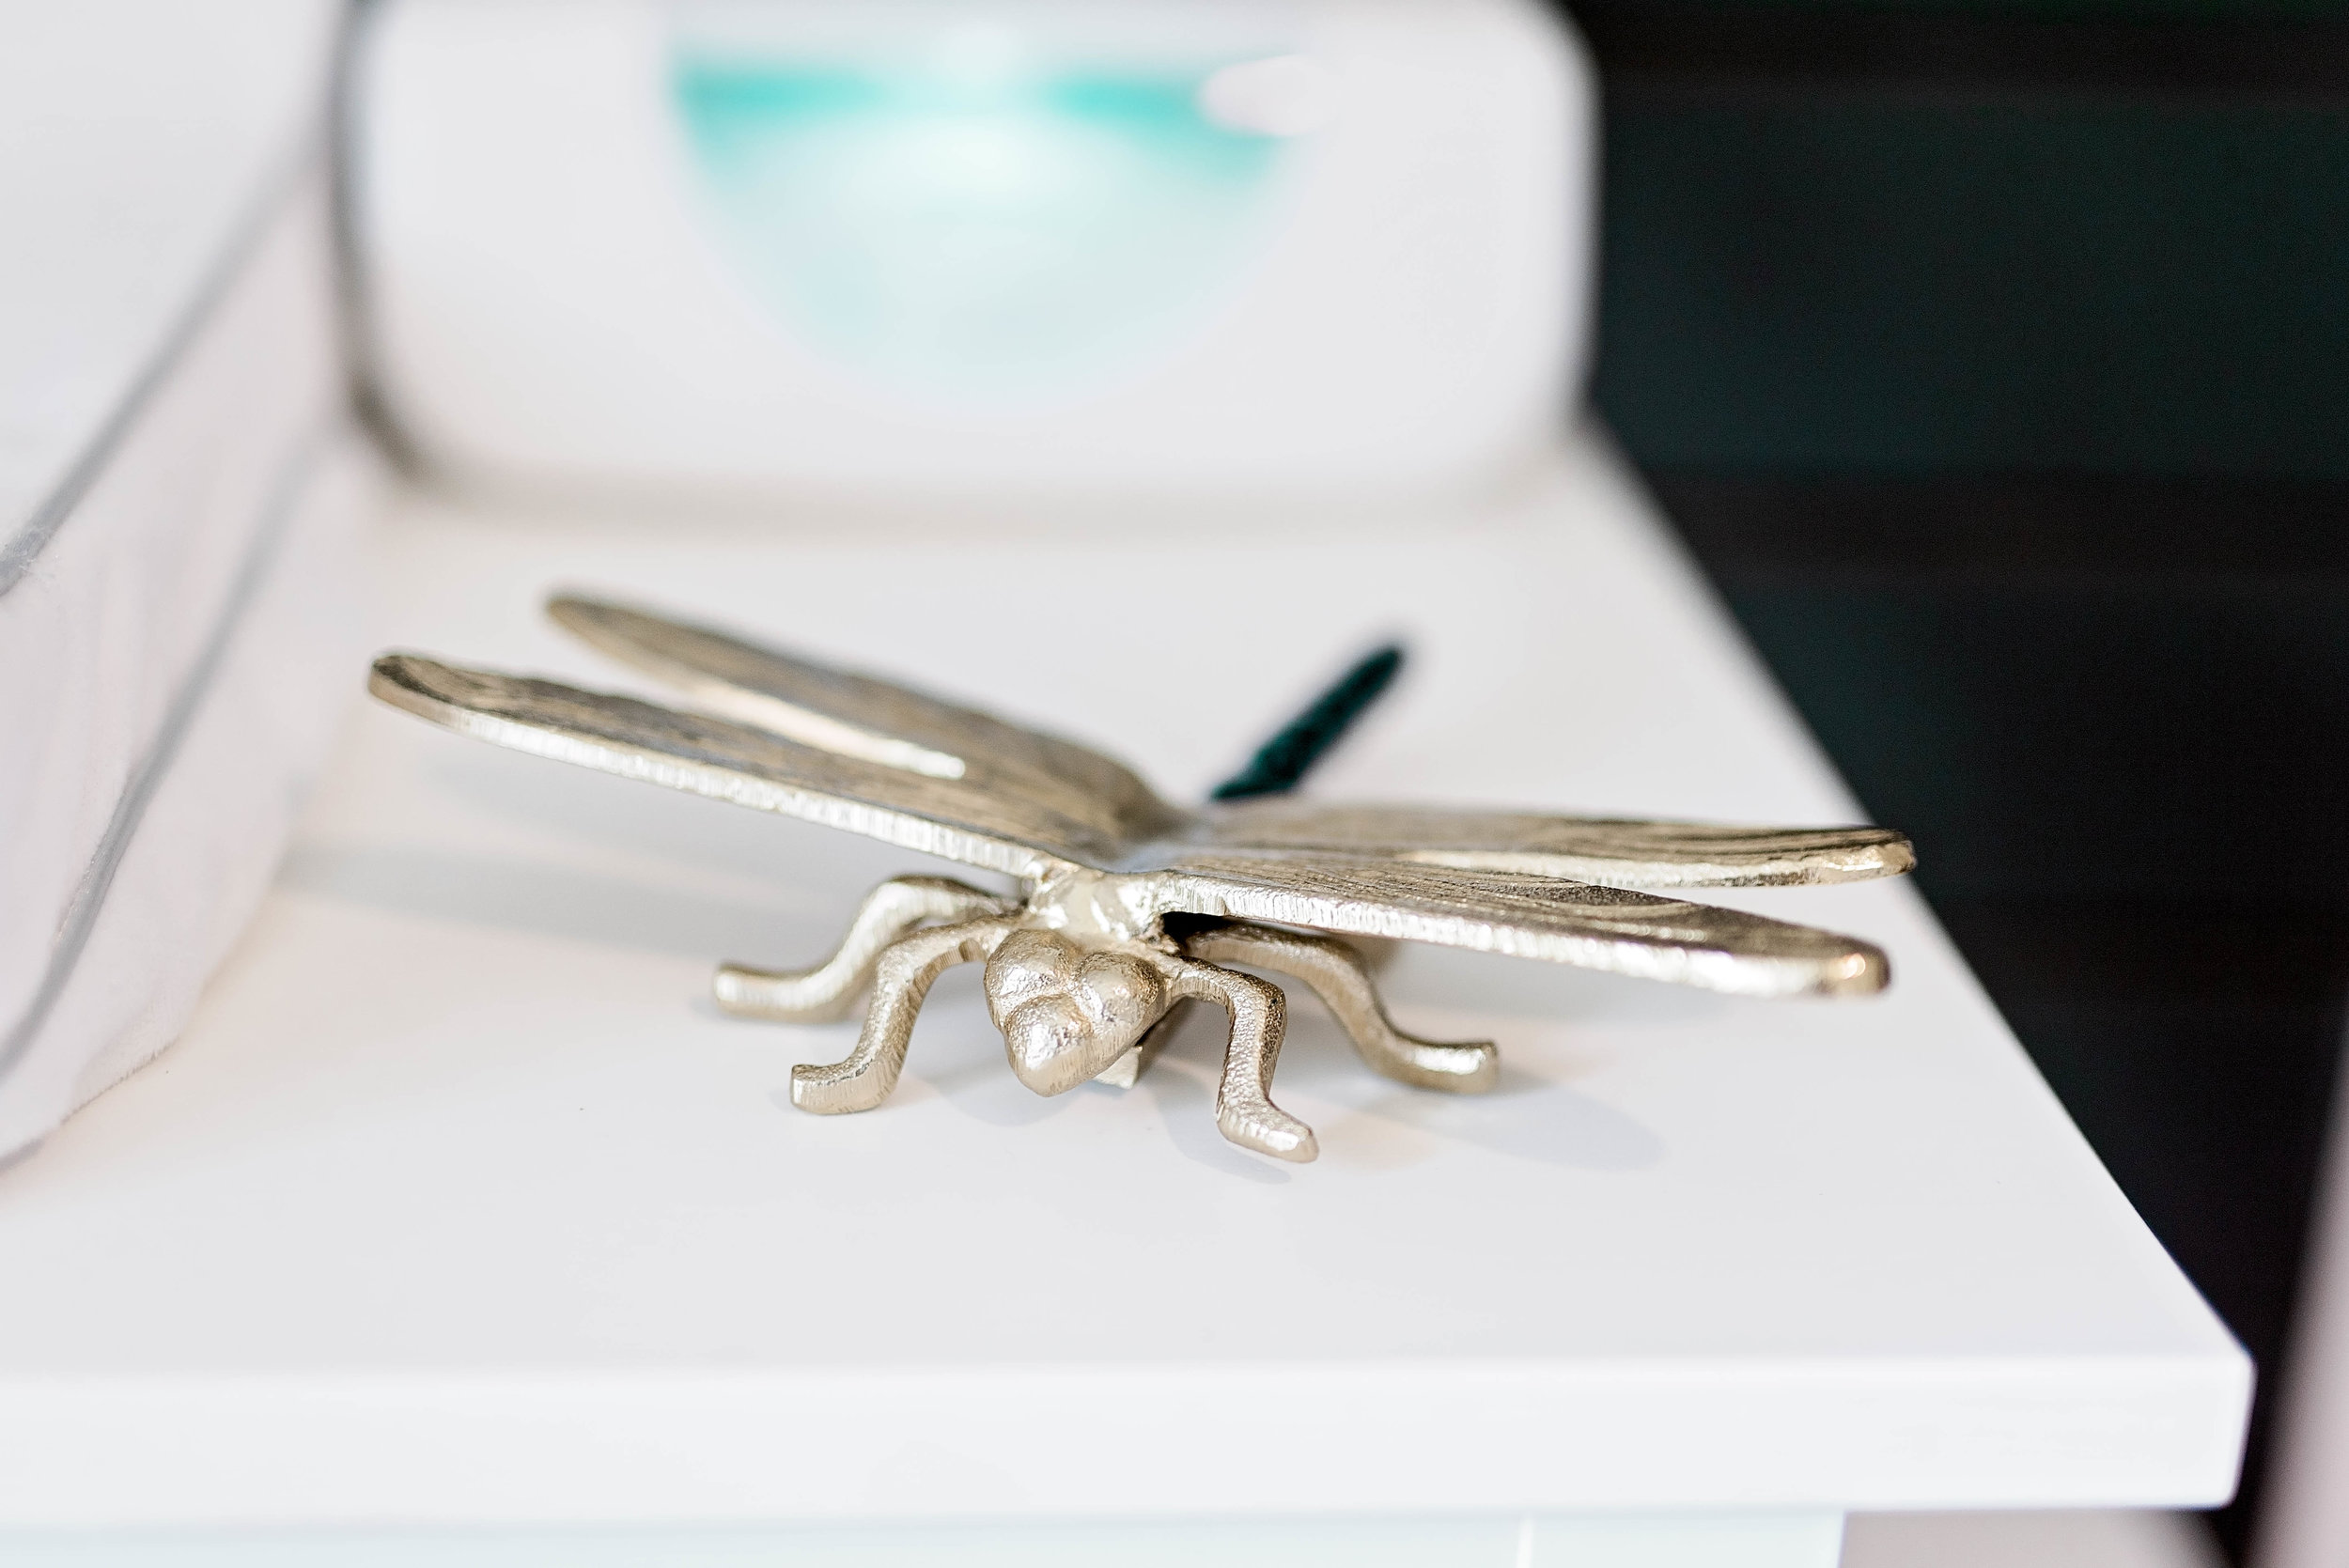
Bugs: Target (Magnolia Collection on sale!)
Frames: Hobby Lobby
Crib Sheet: Rookie Humans
Baby Rocker: Bloom
Shelf: Ikea They no longer sell the exact wood from the shelf, but here is something similar!
Cactus: Ikea
Clock: Ikea
Zebra Toy: The Manhattan Toy Company
Closet Organization: These were built-in using this plan!
Pillow: DIY - Leather found at local fabric store.
Dresser Hardware: DIY - using wooden dowels, paint, and copper toilet piping from home depot!
Frame Art: DIY - Using InDesign!
Gifts: Stuffed animal & blanket